
This masterclass teaches you how to accomplish a full-cg VFX shot of a submarine emerging from the ocean.
Step by step, the tutorial develops from a theory intro, through Flip simulation, Ocean integration and Whitewater addition.
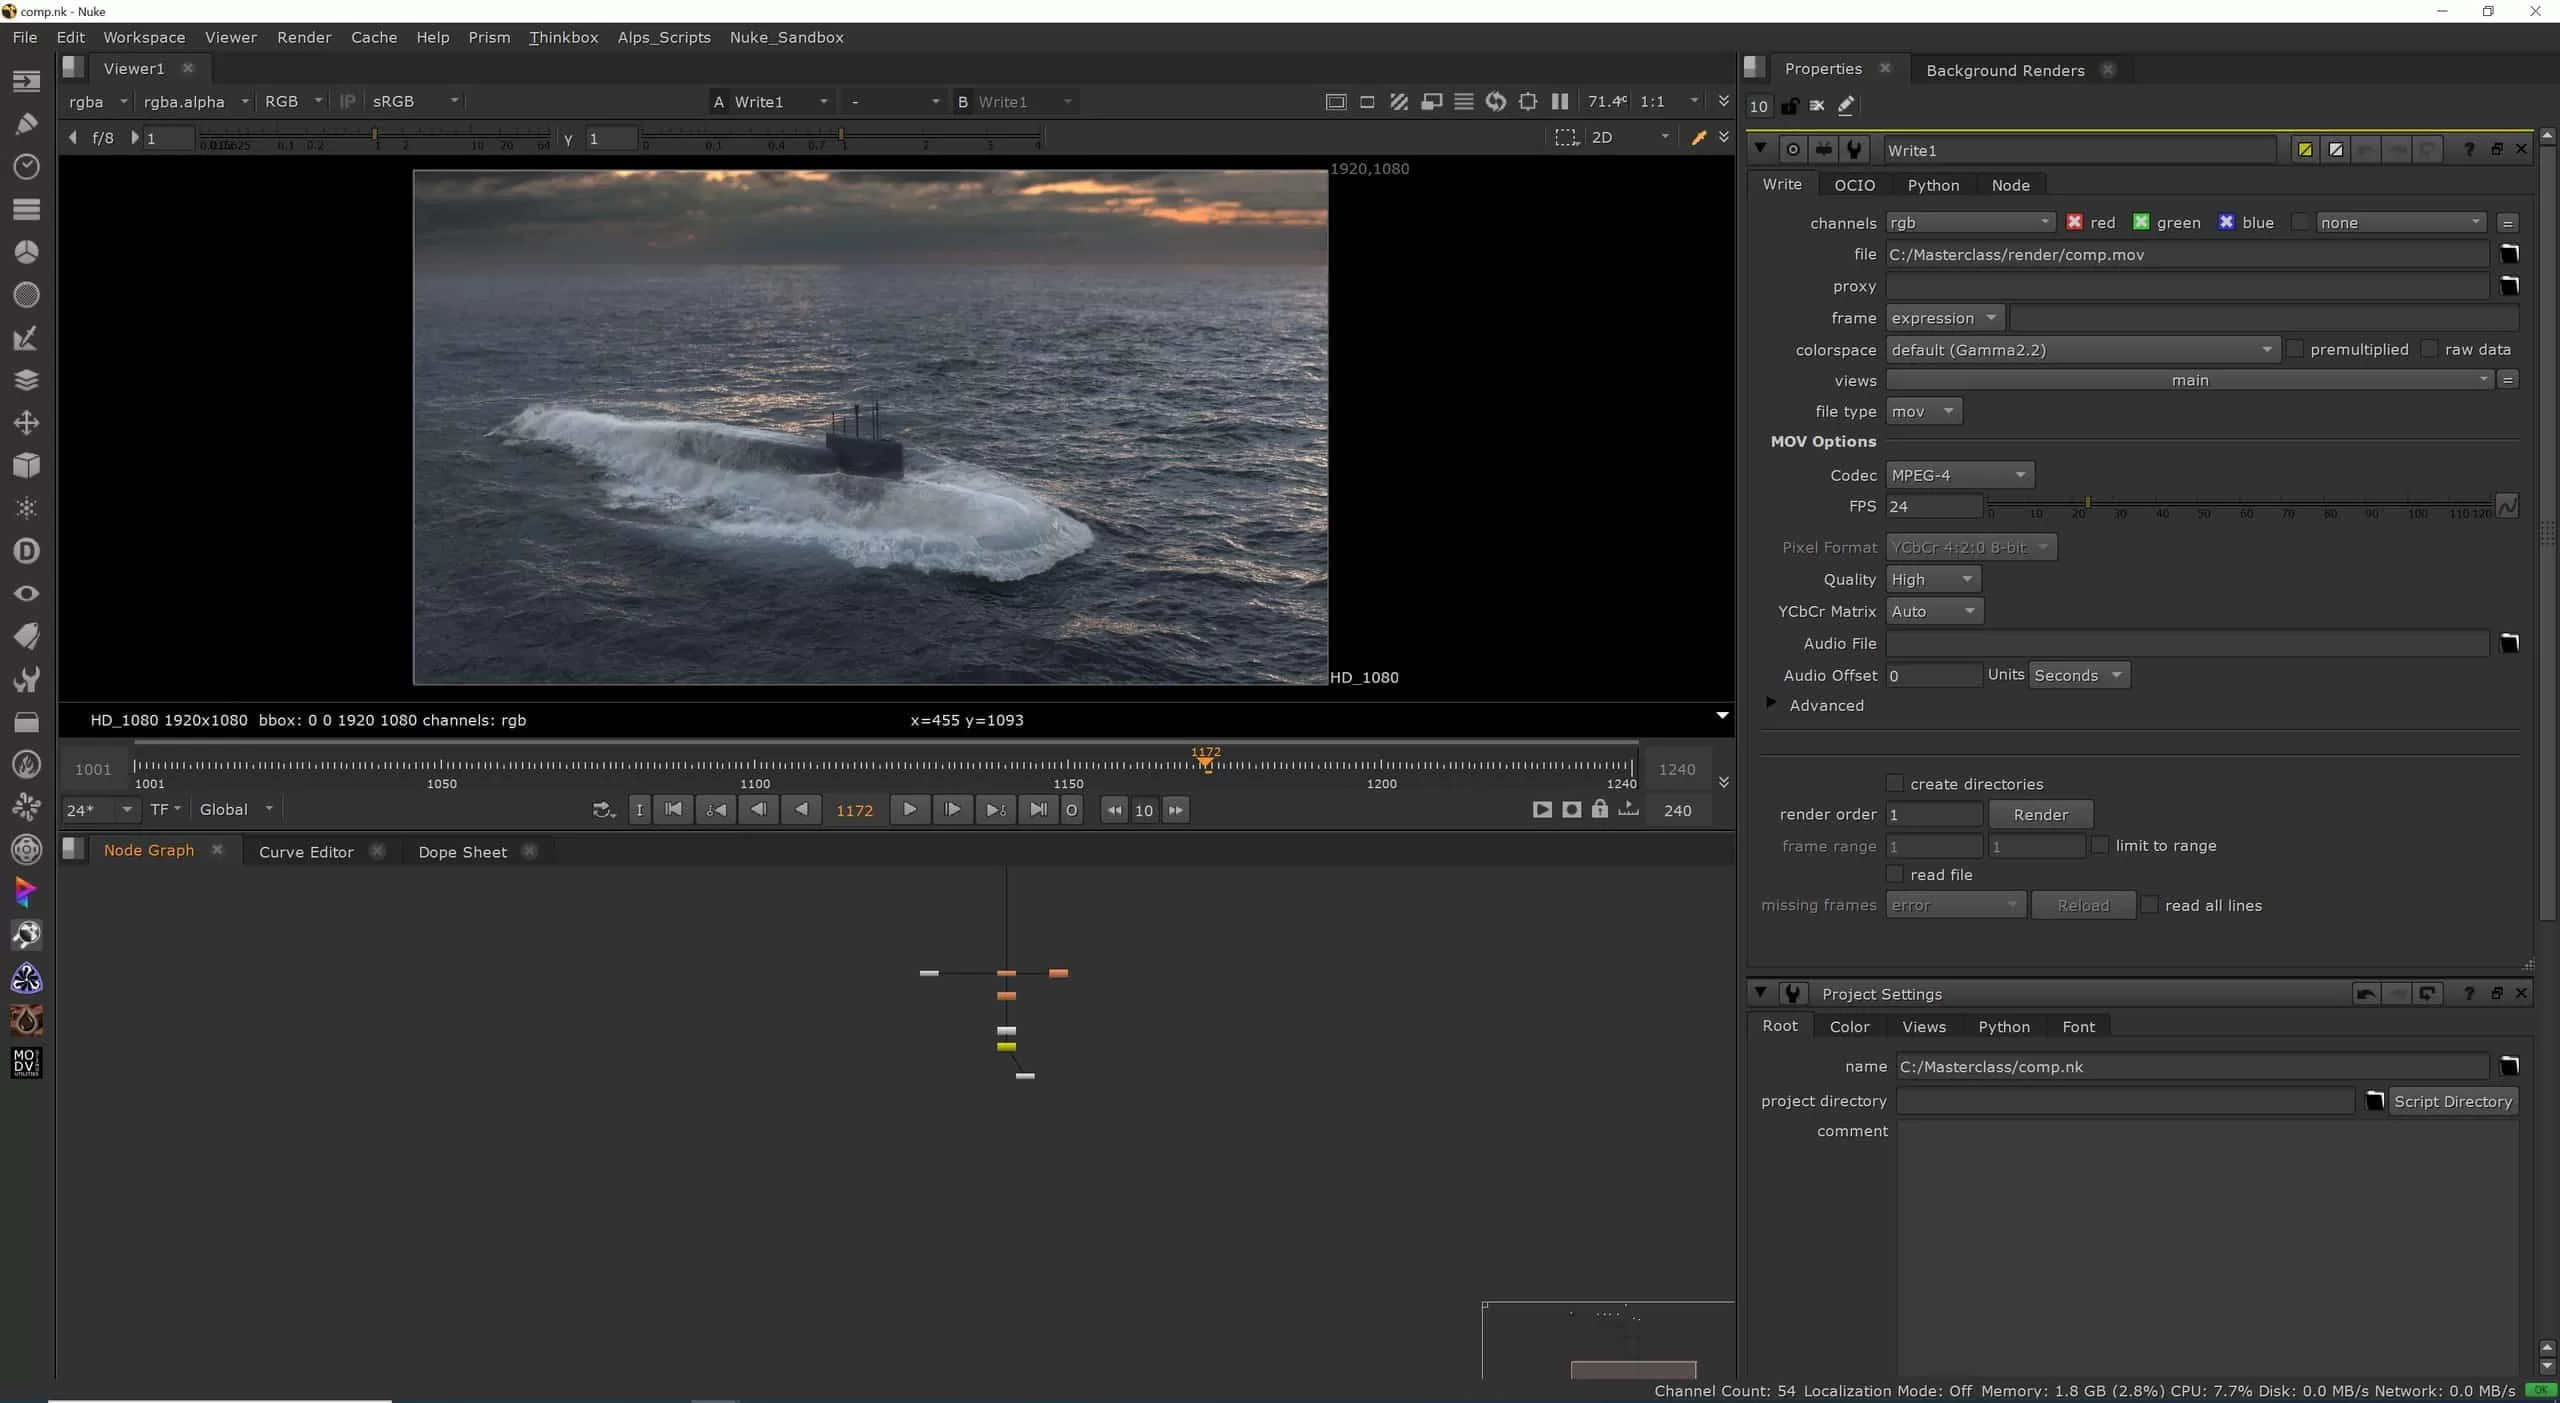
The FX is developed in Houdini, rendered with Karma, then composited in Nuke.
- We have meticulously pre-recorded 40 video lessons that will expertly guide you through the intricacies of Houdini, enabling you to recreate our awe-inspiring FULL-CG VFX shot, ‘The Submarine’
- At the beginning of the masterclass, you will also receive the material scene file needed for the tutorial (alembic file for the submarine)
- Of course, the set of software needed to replicate the work done in the masterclass (Houdini, Nuke) are not included in the package
- Videos and materials will be watermarked with the personal data that we’ll collect during the purchasing process, and shared with you via GDrive with specific access permissions that will be granted to the email you used for filling in the enrollment form only
- Recommended system requirements (similar specs are fine as well): GeForce GTX 1660 SUPER; Disk Drive: Samsung SSD 970 EVO Plus 1TB; System Type: 64-bit operating system, x64-based processor; OS: Windows 10 Pro; OS Build: 19042.63; At least 300 gb of free disk space needed for caching

In partnership with
Enroll now!
We will verify your profile to make sure that you fit into the selected category (student/professional) and right after, you will receive an email to complete the purchase

Masterclass Breakdown
INTRO Project Overview
In this lesson we’ll get an overview of the project.
INTRO Theory Description
In this lesson we’ll have a quick look to the major players in our simulations.
INTRO Project Setup
In this lesson we’ll start the project by setting up our scene.
INTRO FX Overview
In this lesson we’ll define the overall direction of the effect and the steps to achieve it.
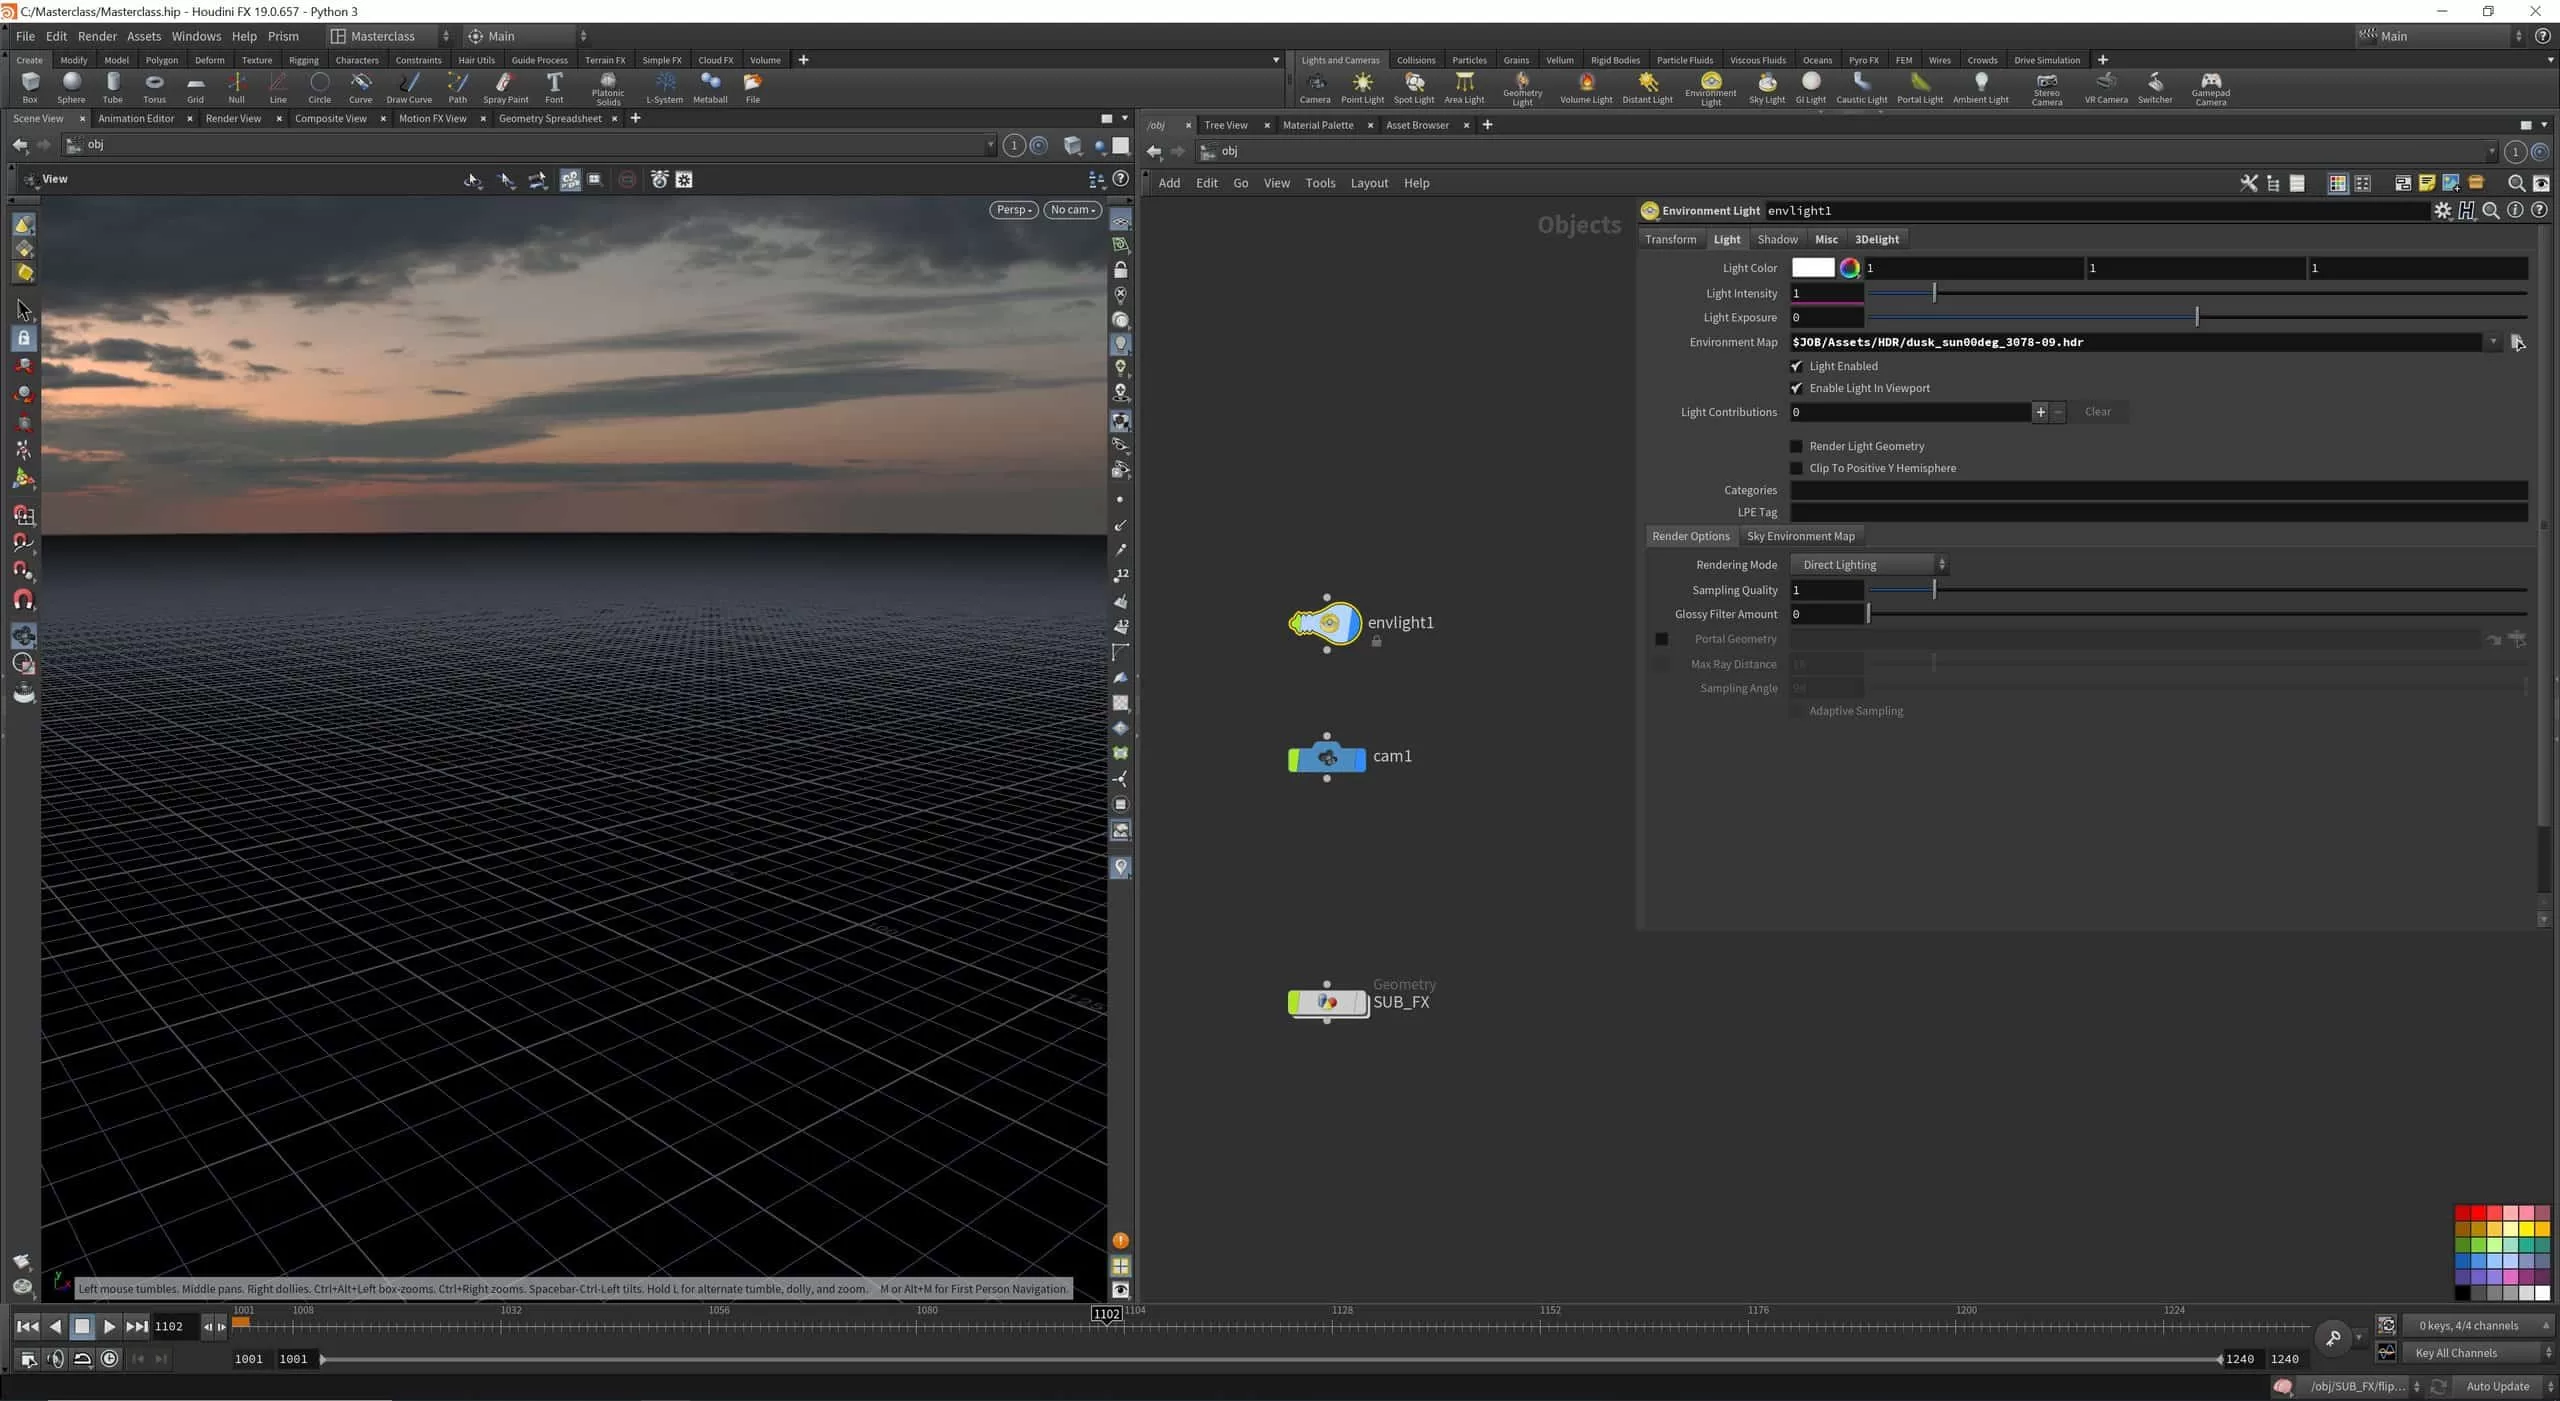
INTRO Render Setup
In this lesson we’ll setup a base tree in the stage enviroment so to be able to render our elements.
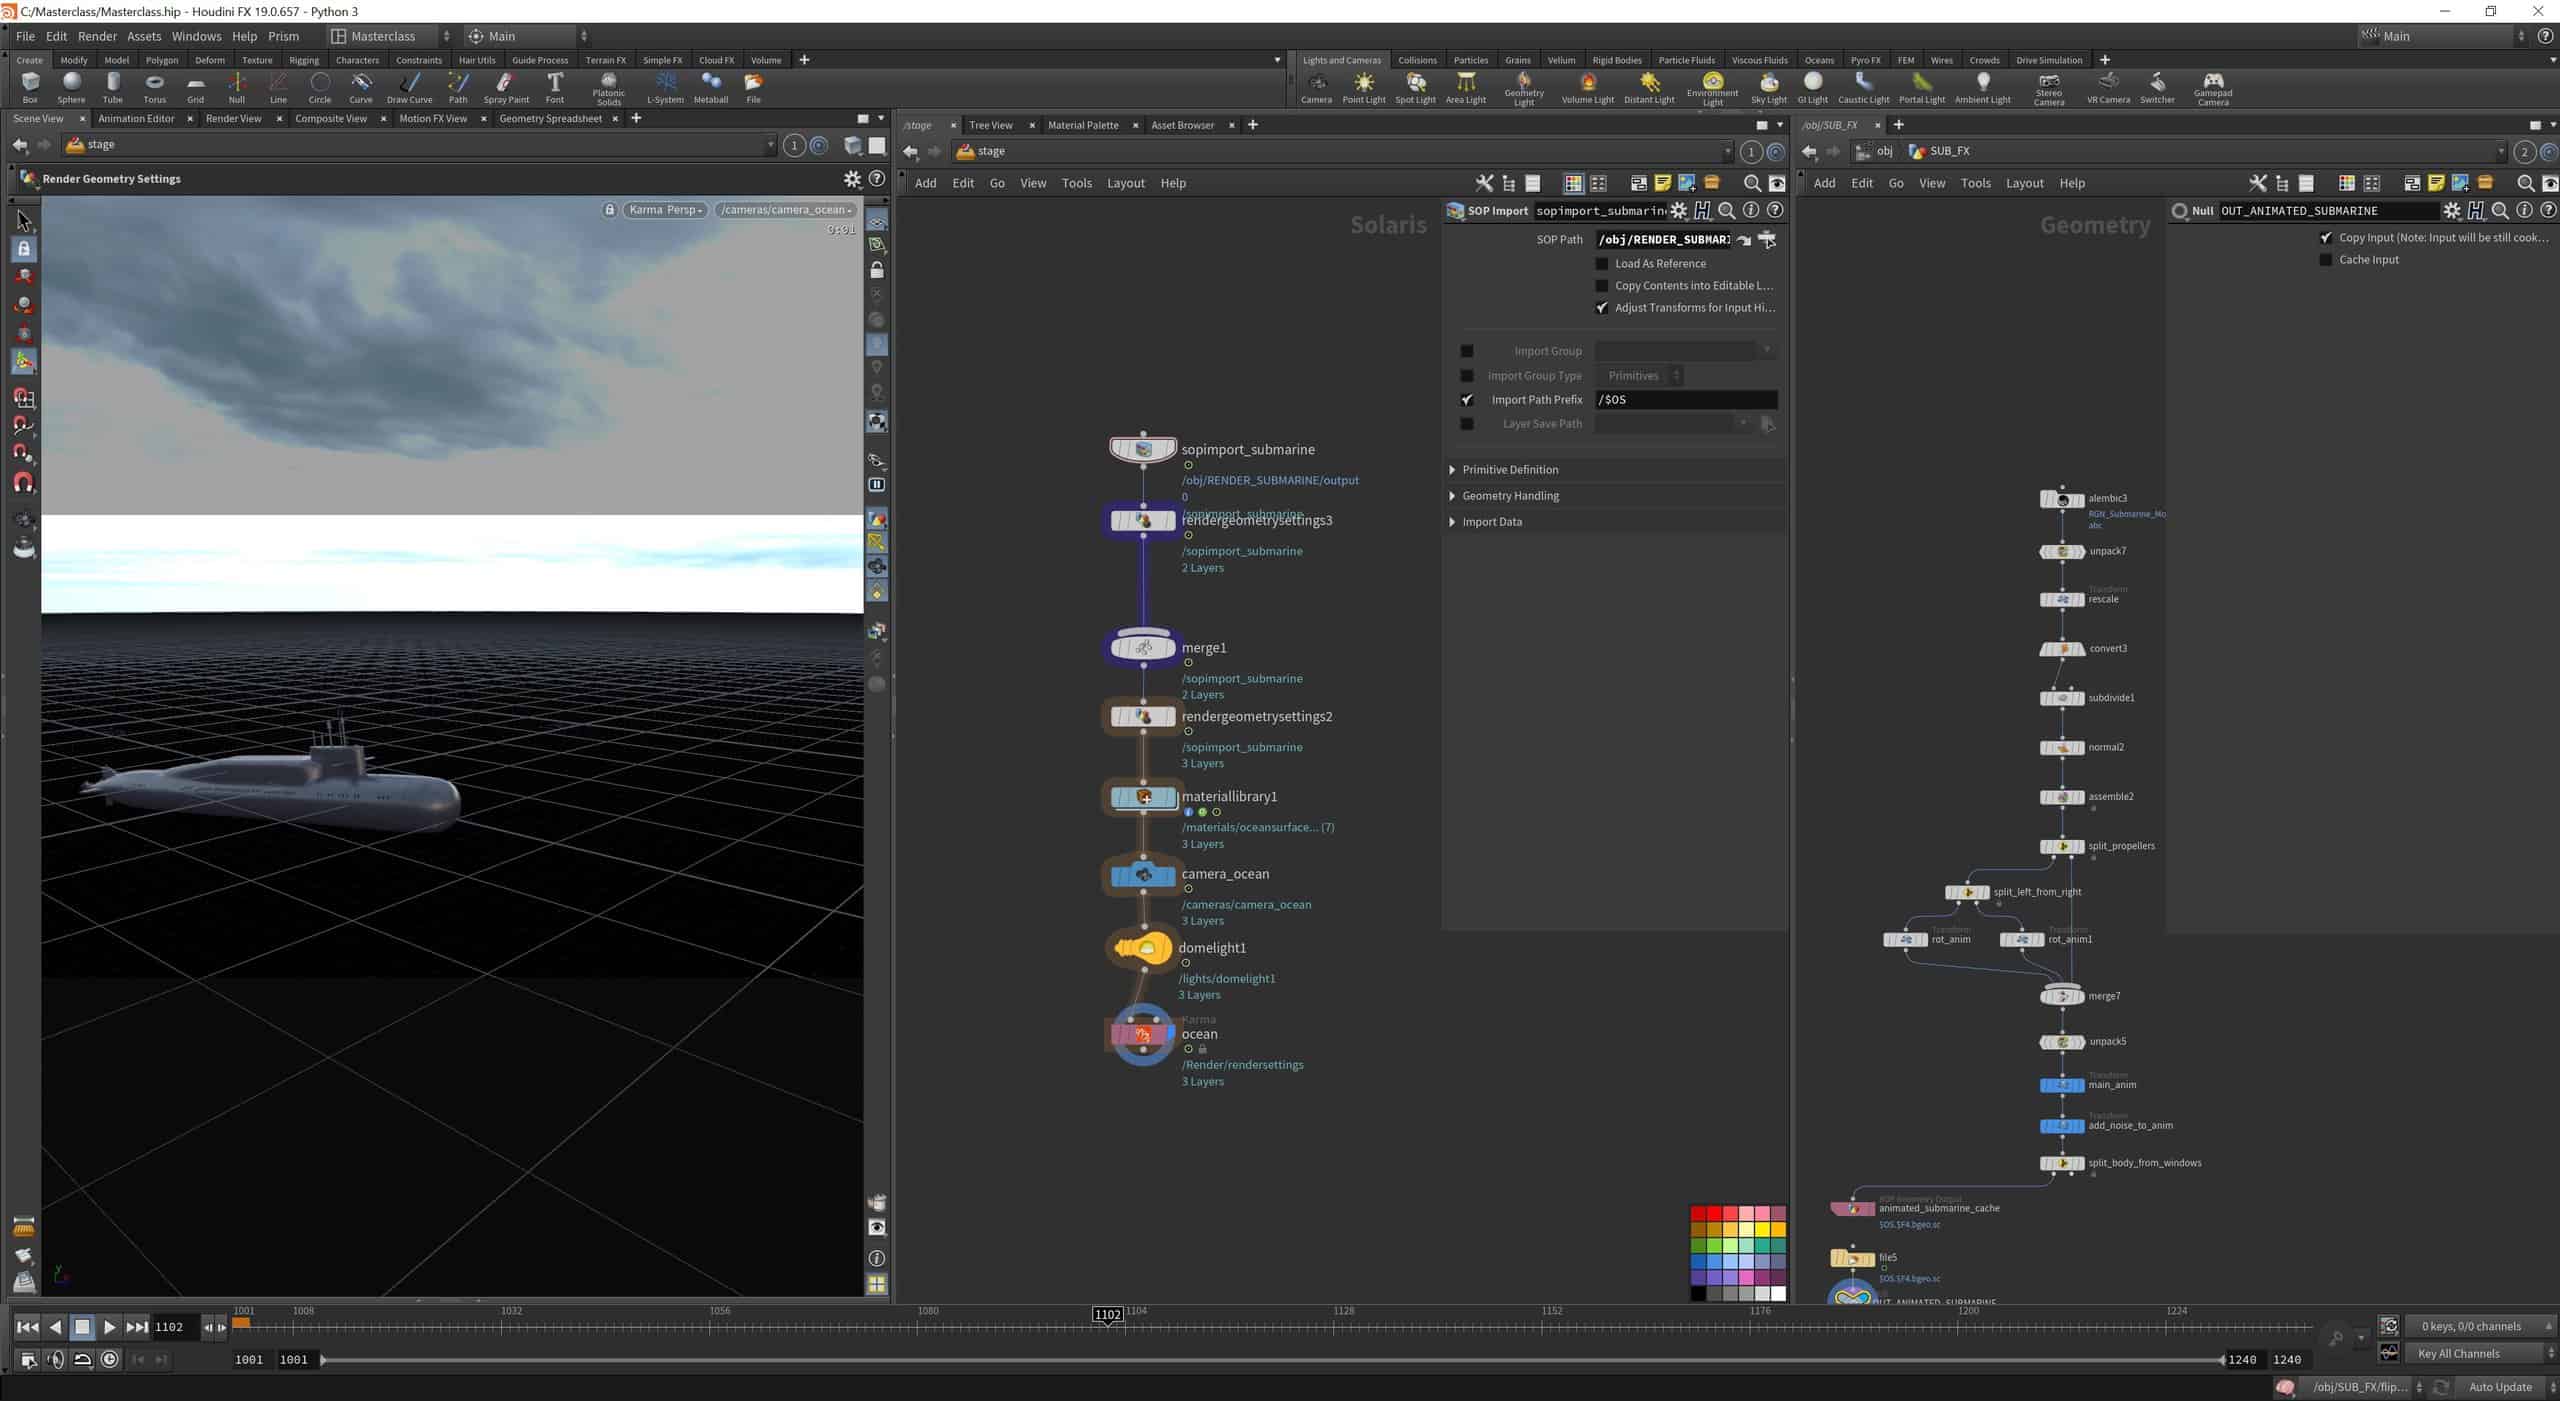
FX Submarine Animation and Render
In this lesson we’ll import, animate and render the submarine asset.
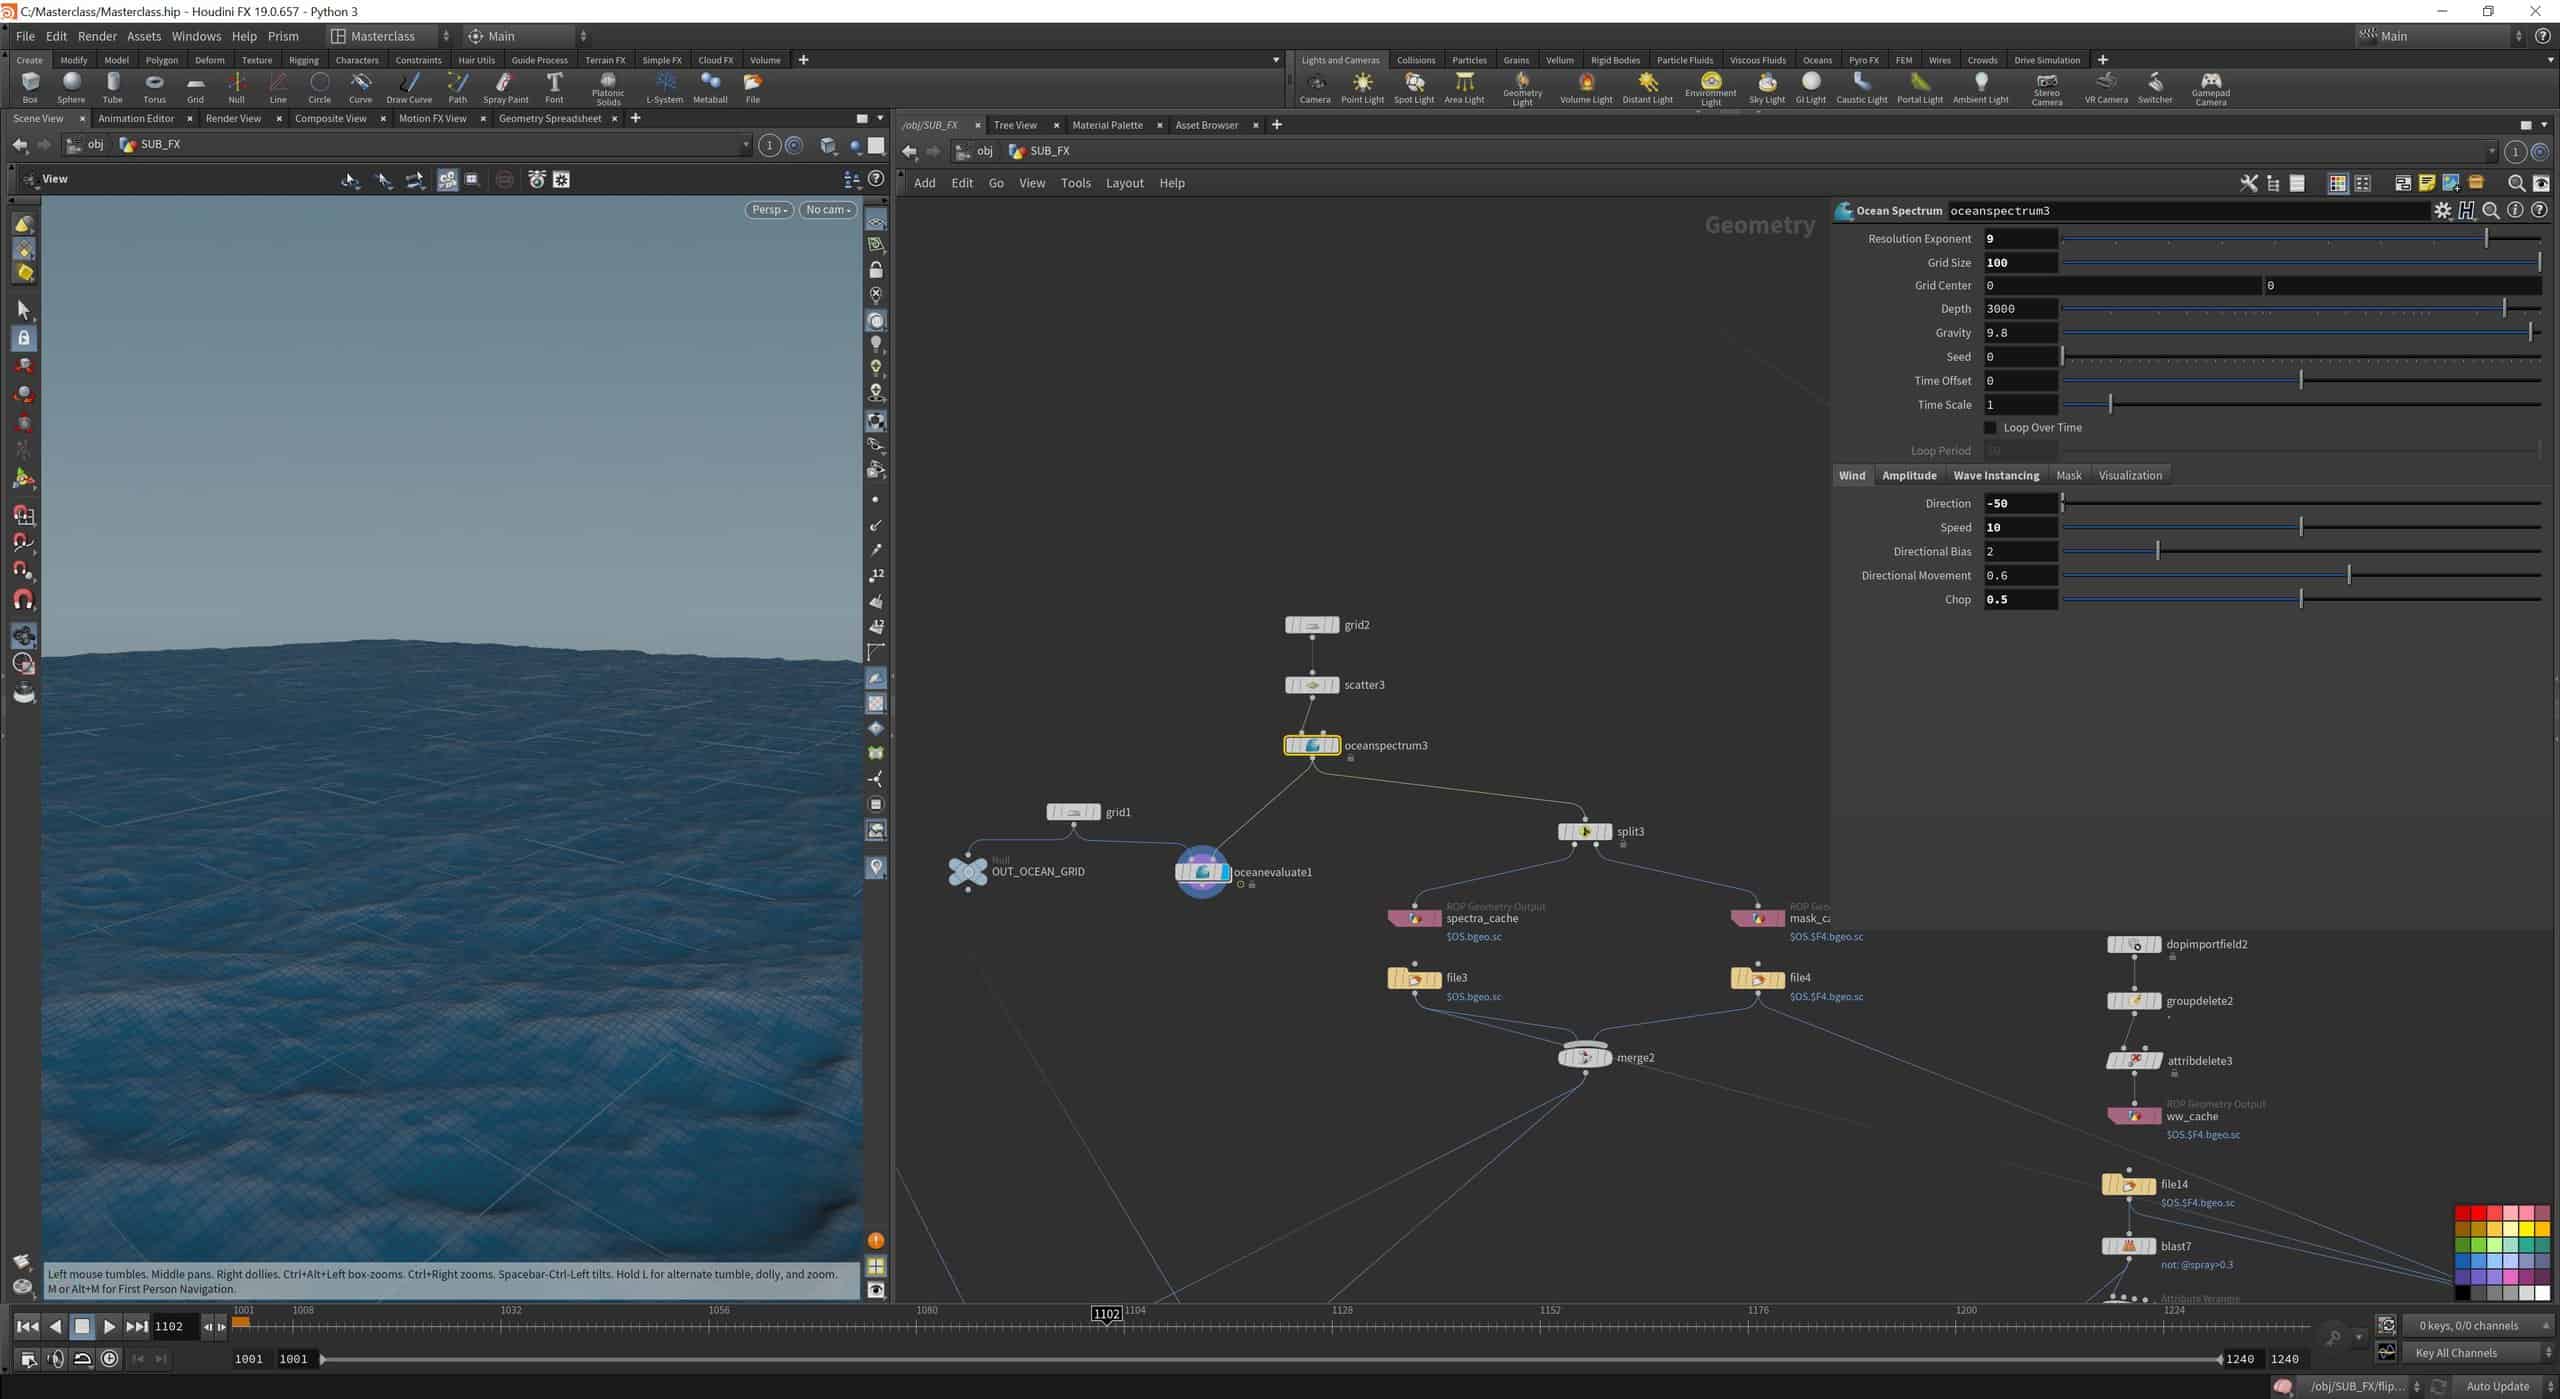
FX Ocean, Part 1
In this lesson we’ll create an ocean: starting from an overall shape, then expanding it without repetitions.
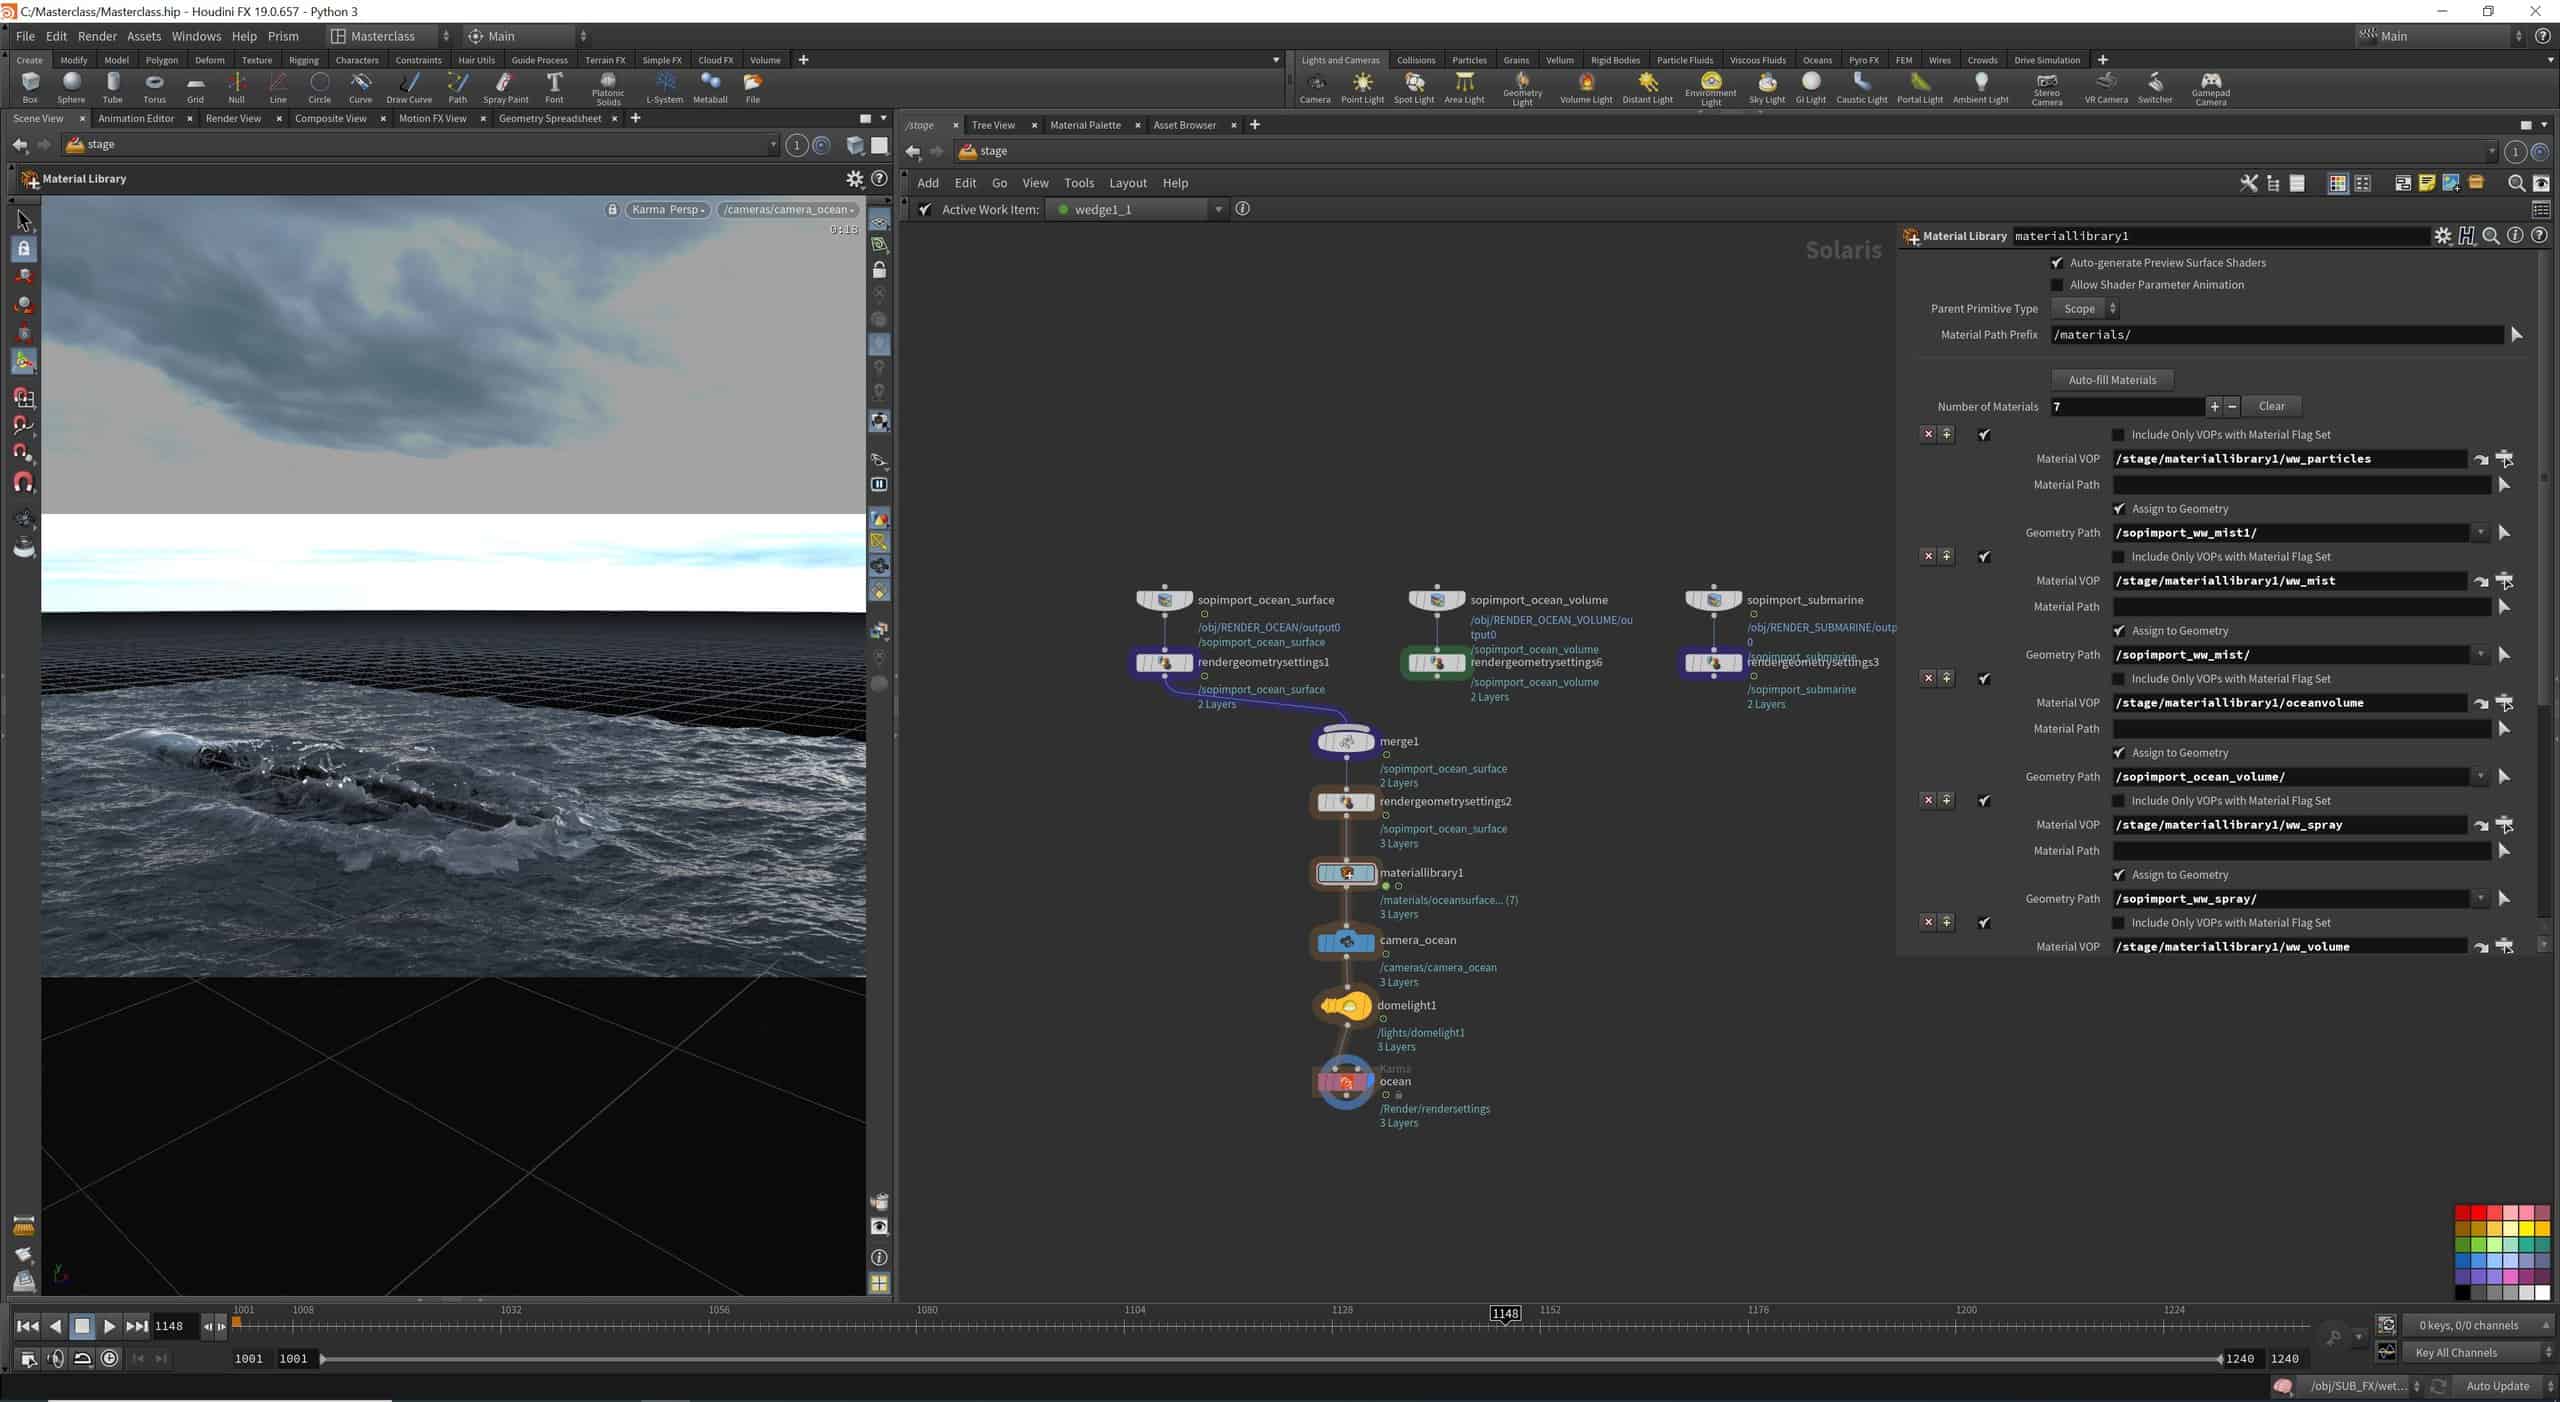
FX Ocean, Part 2
In this lesson we’ll shade the ocean and it will be rendered for the first time.
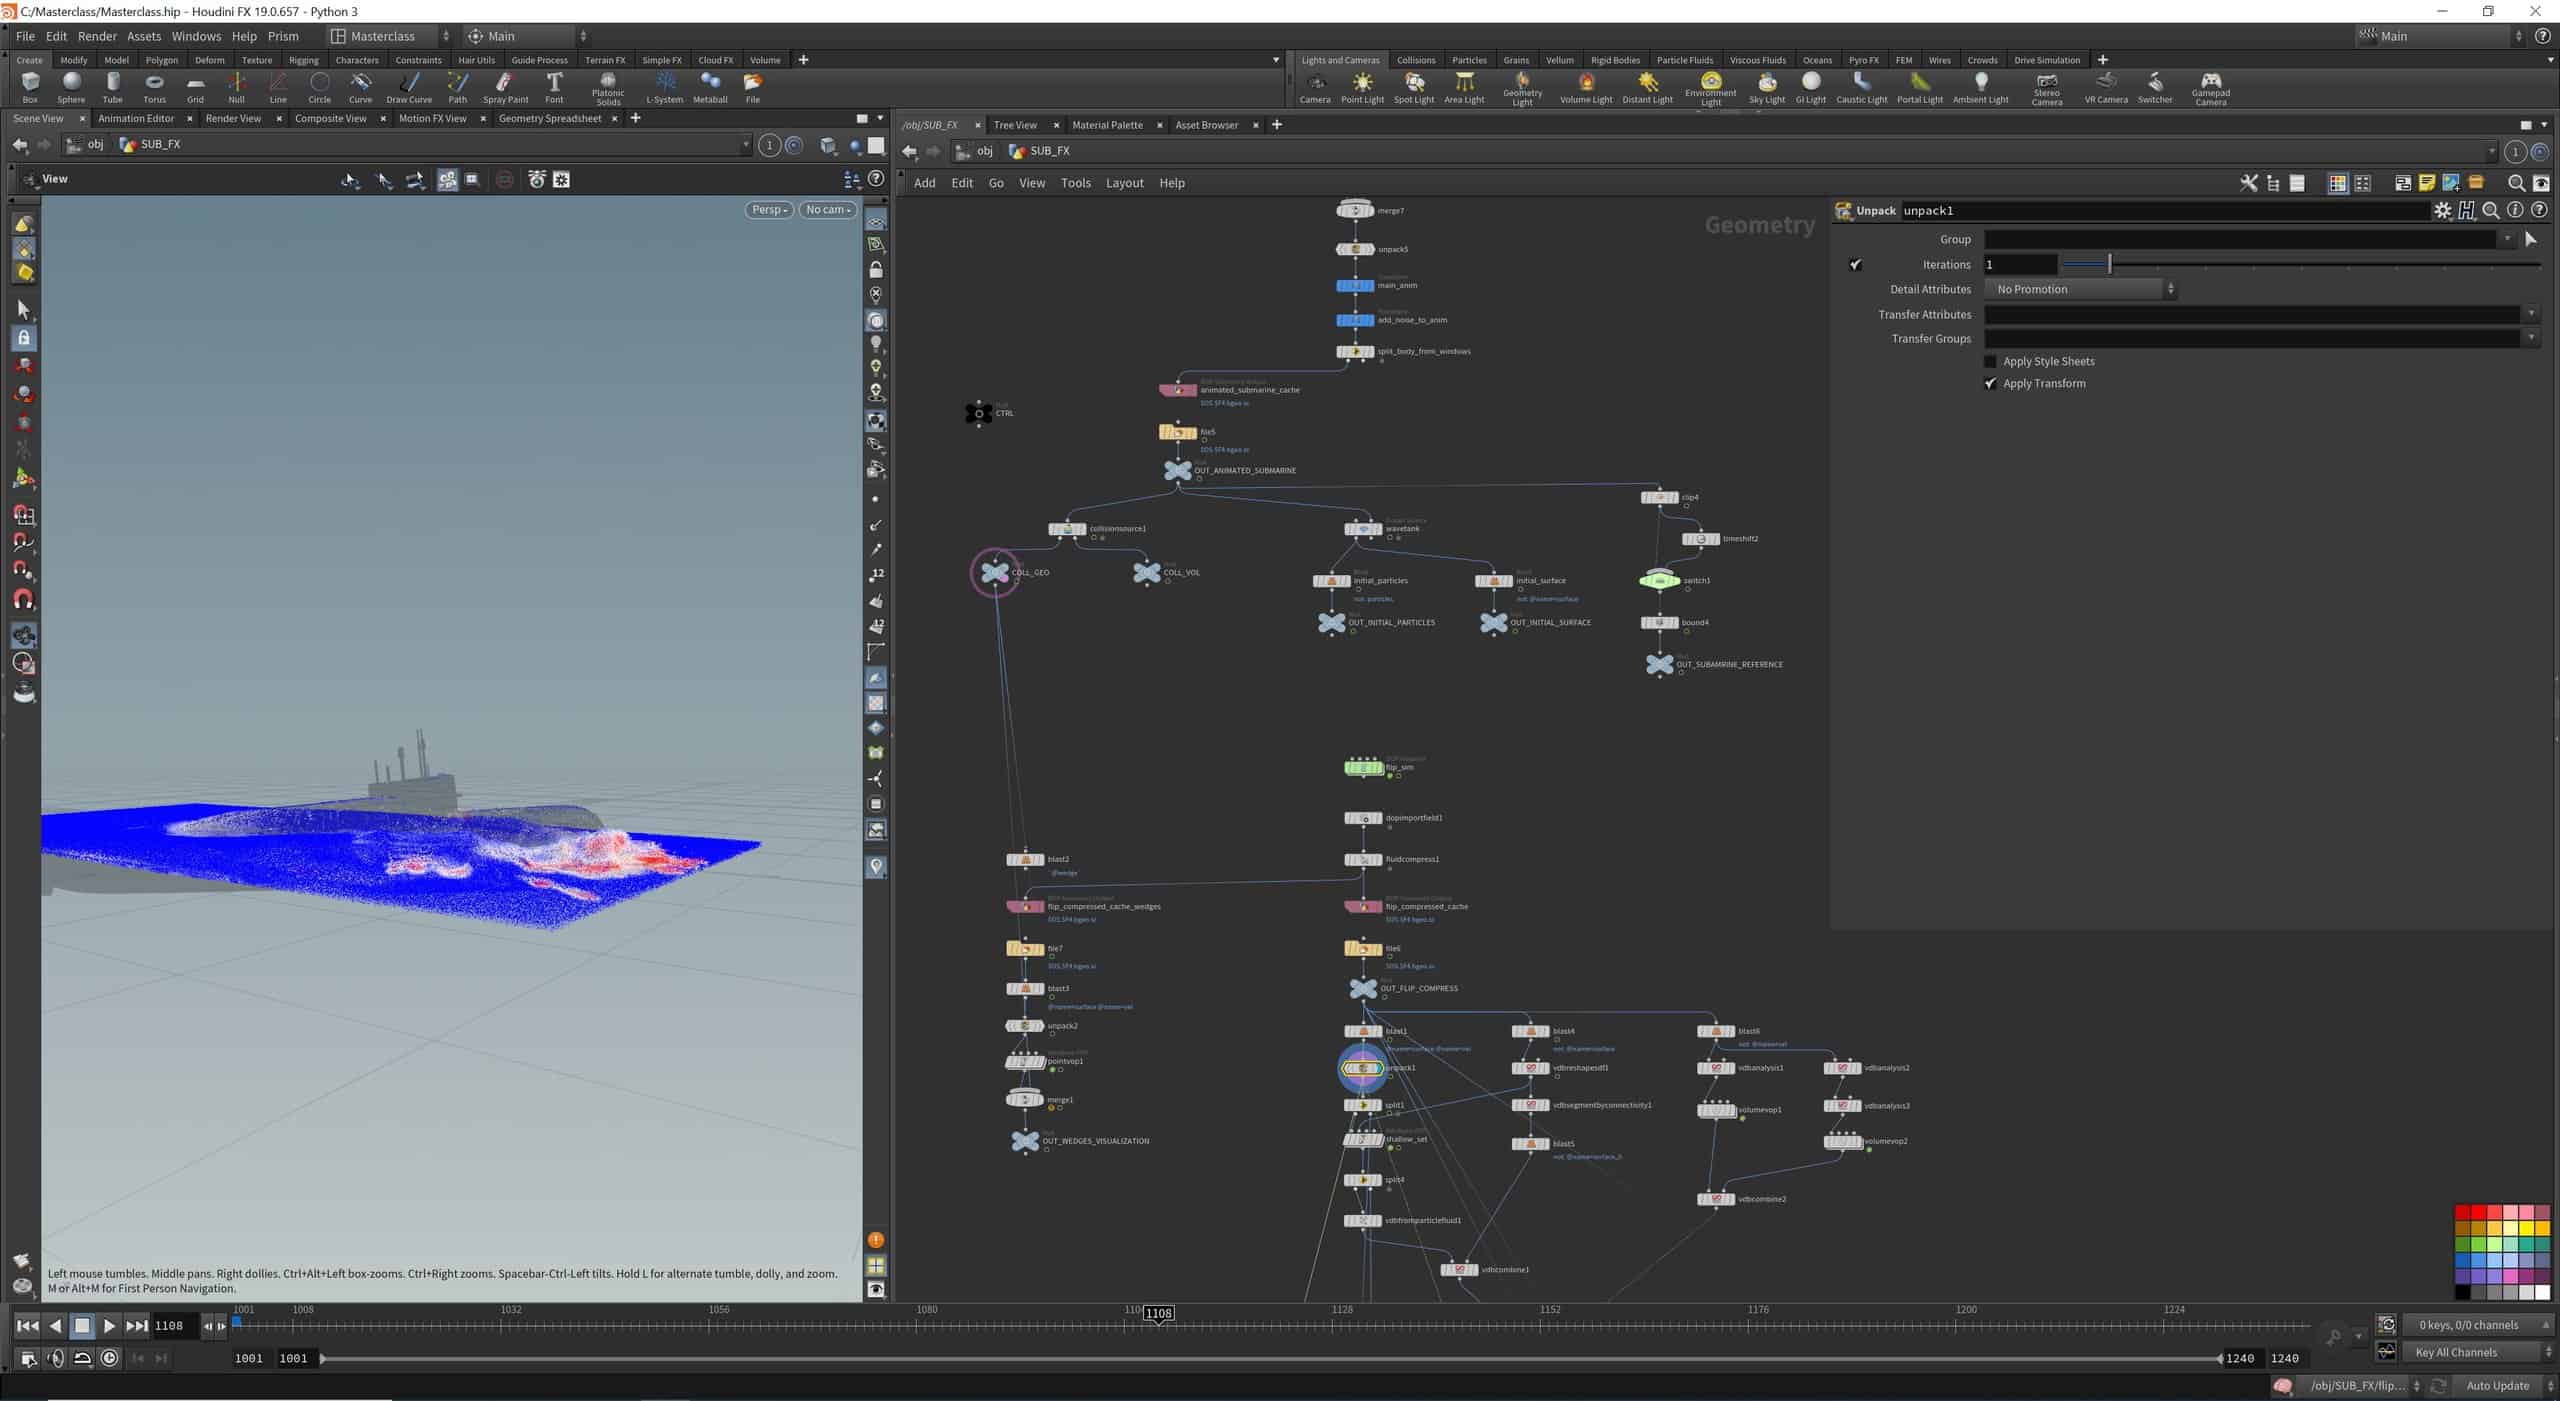
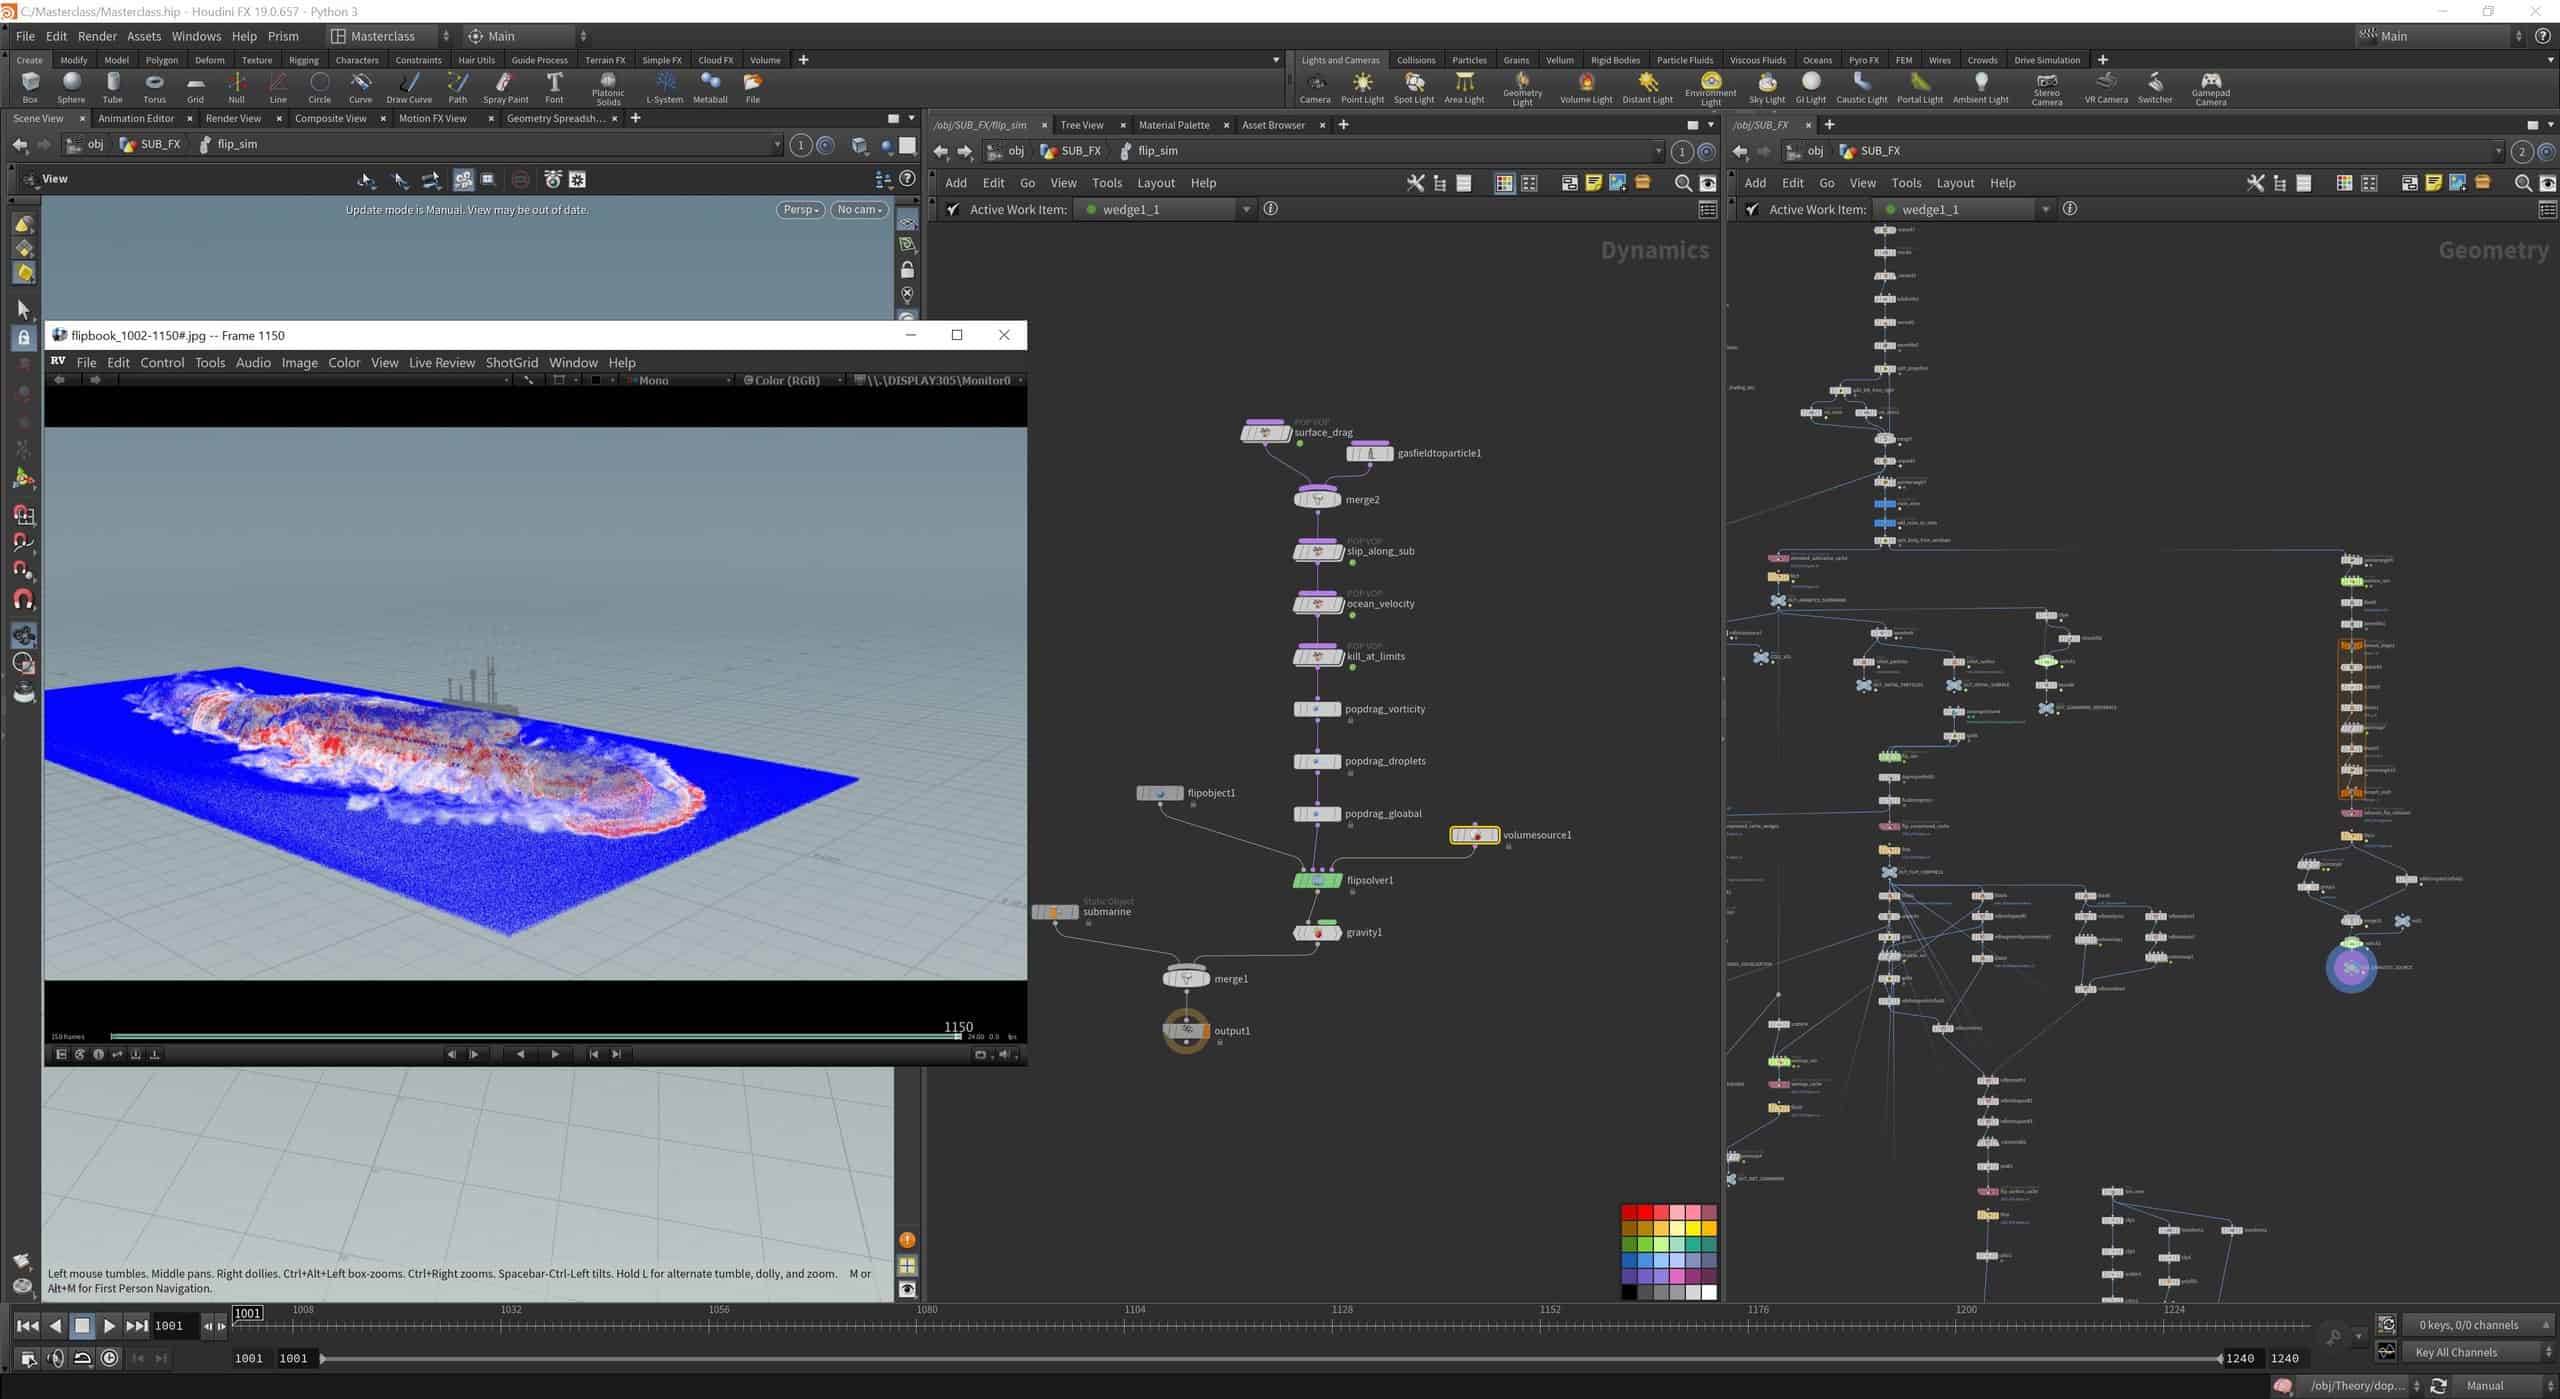
FX Flip Sim, Part 1
In this lesson we’ll create our ocean source for the main simulation.
FX Flip Sim, Part 2
In this lesson we’ll create the base flip setup and import the asset as collision.
FX Flip Sim, Part 3
In this lesson we’ll link source and solver to cache out the first simulation.
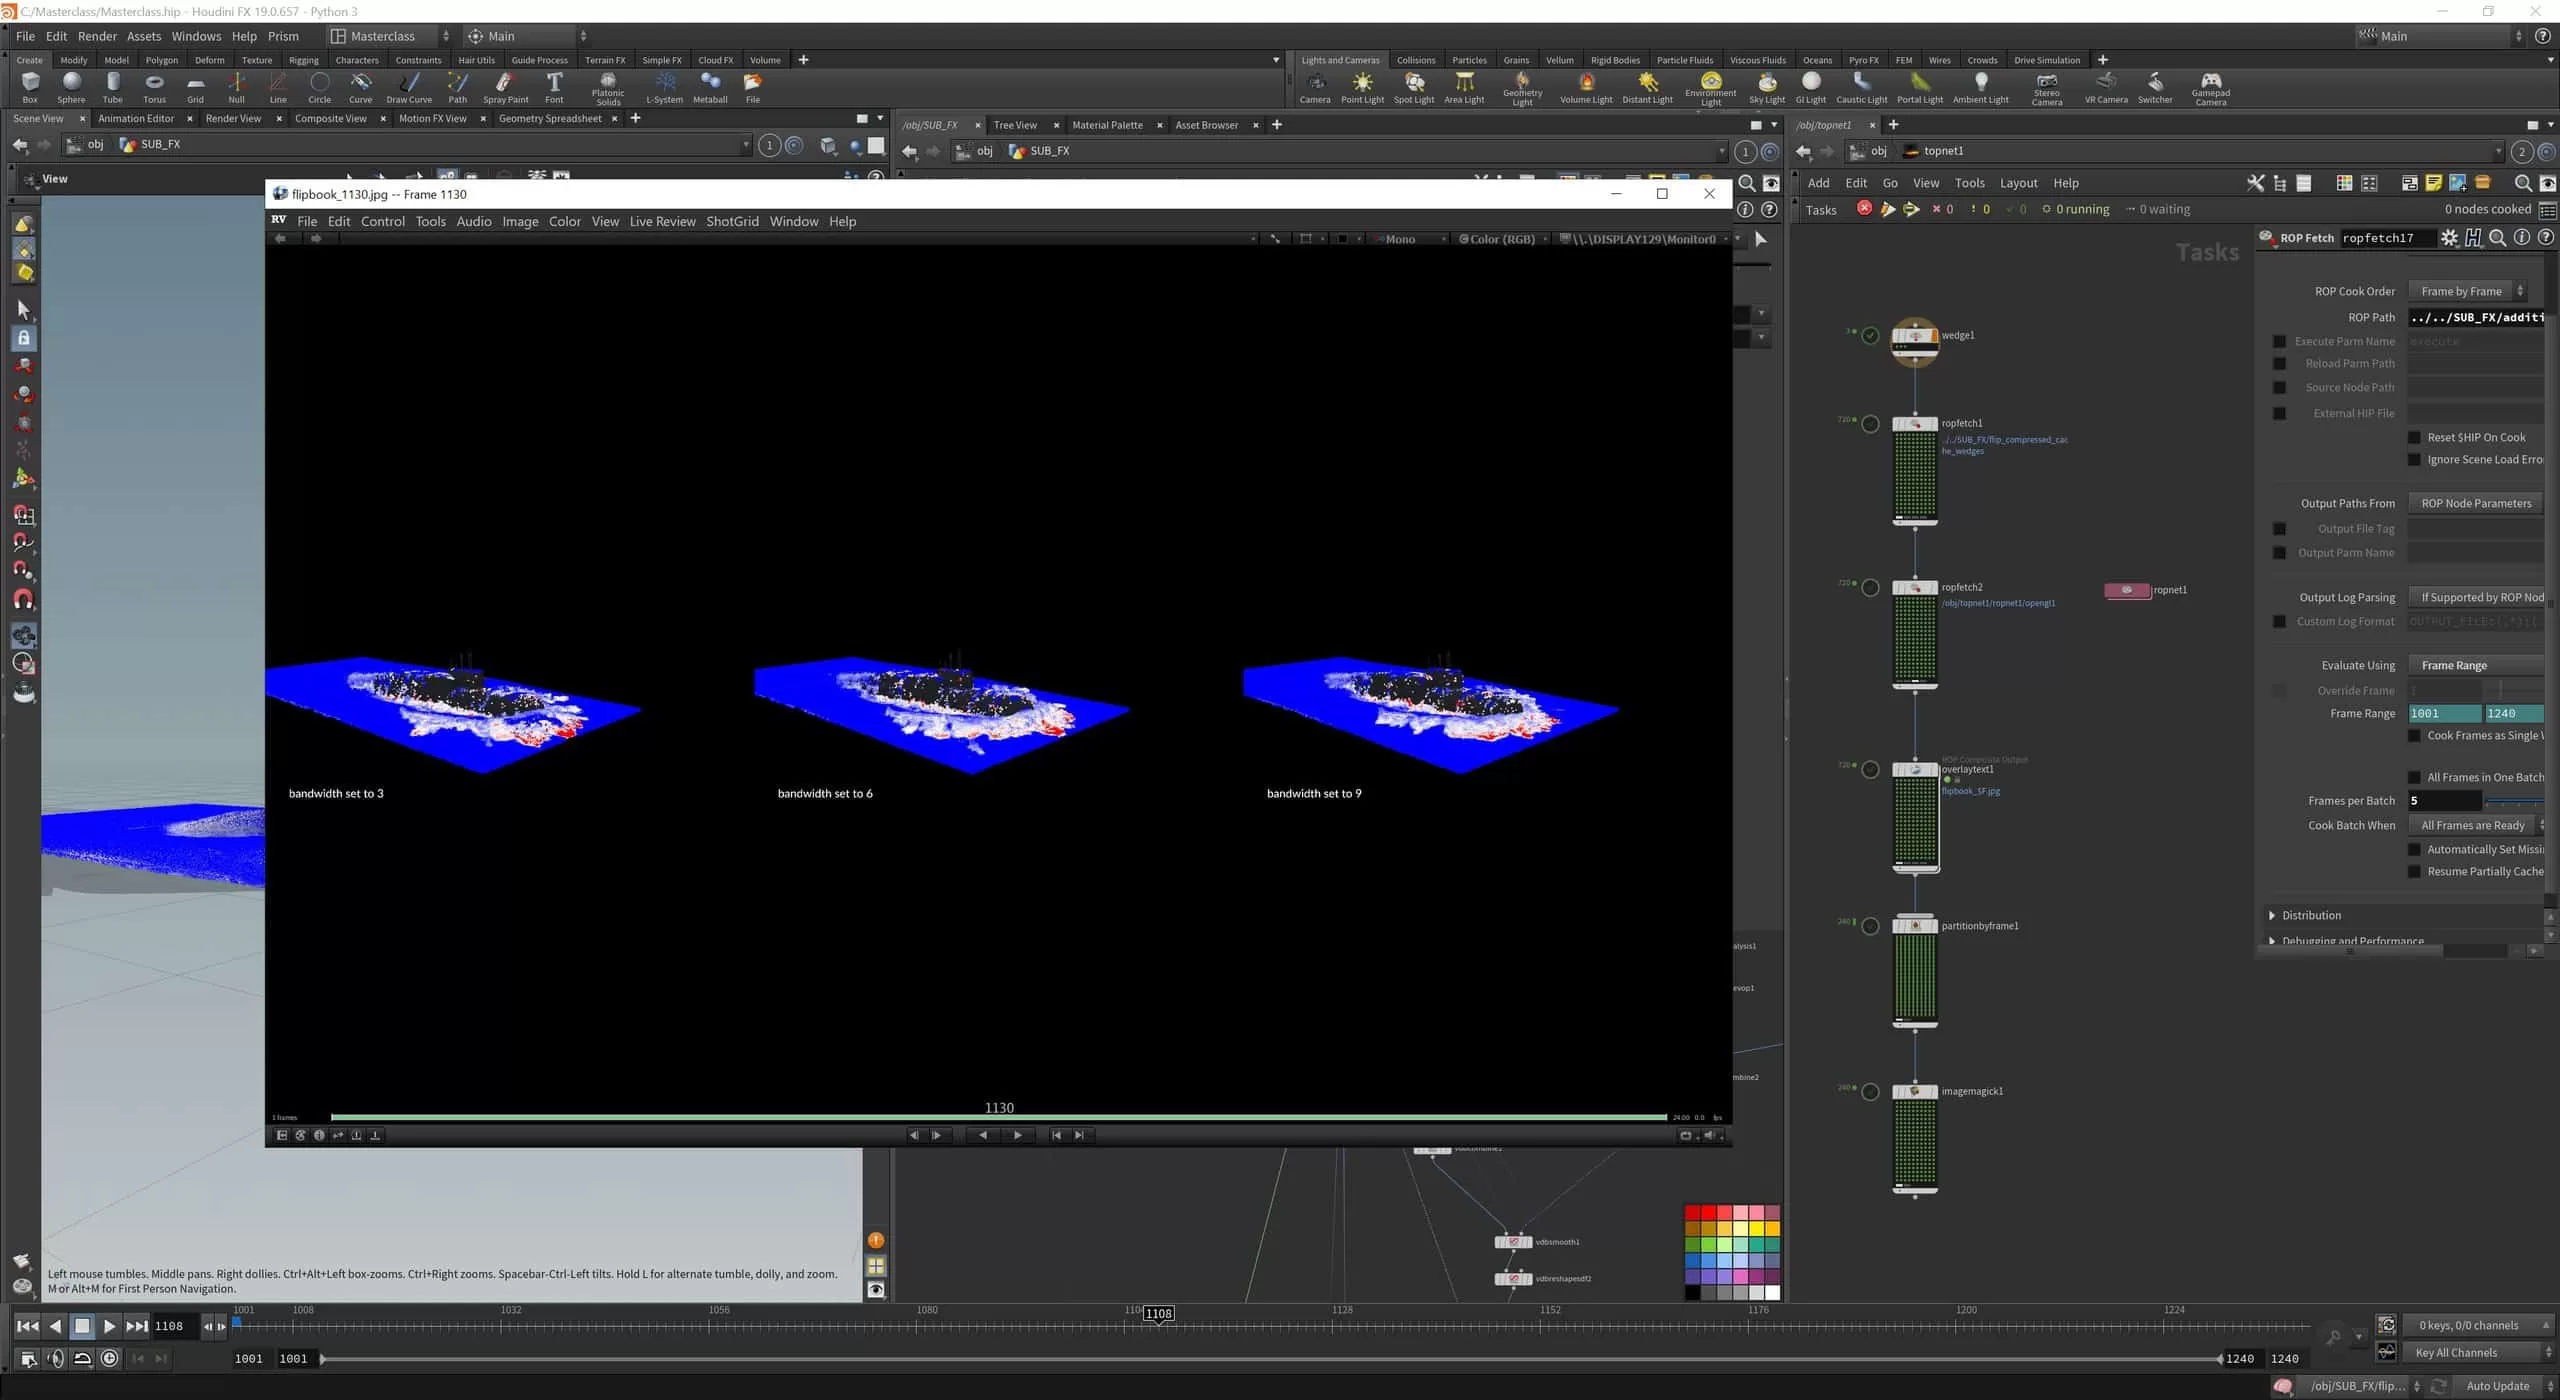
FX Wedging setup, Part 1
In this lesson we’ll take a look at wedges and create a flipbook setup inside of our TOP network.
FX Wedging setup, Part 2
In this lesson we’ll see how to merge the flipbooked wedges into a single flipbook with captions.
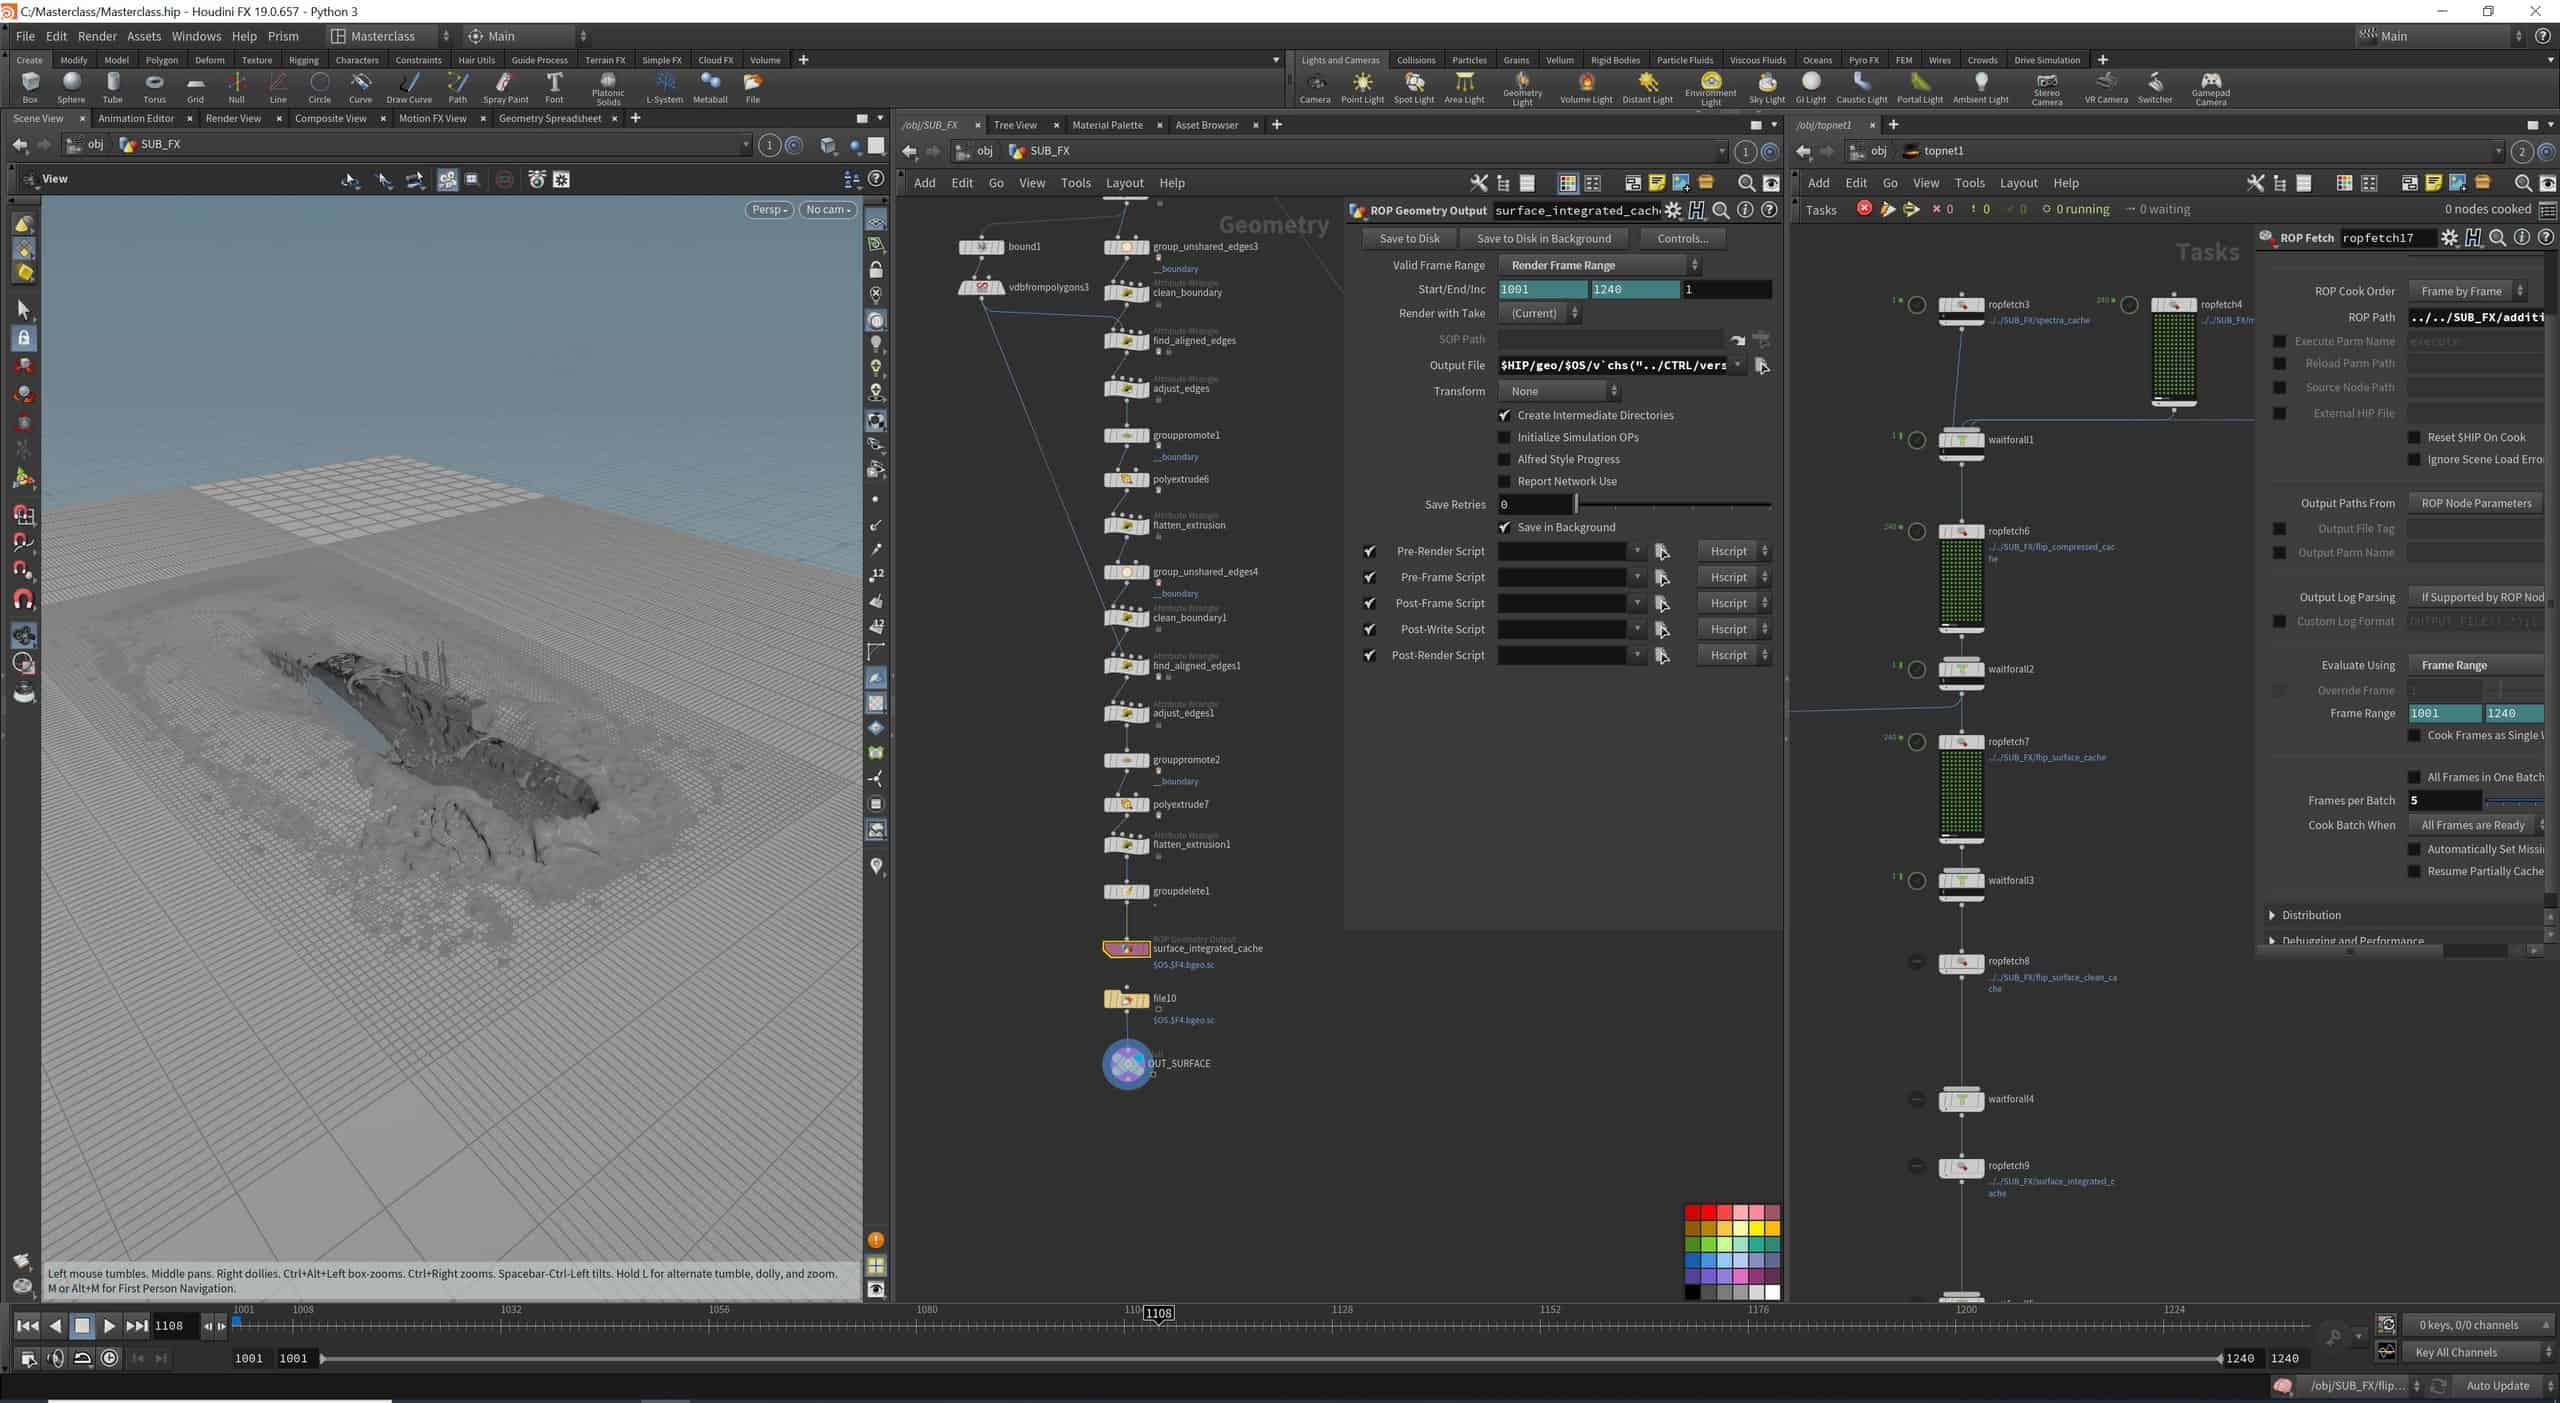
FX Flip Surface, Part 1
In this lesson we’ll use all elements exported from flip to create an initial surface.
FX Flip Surface, Part 2
In this lesson we’ll prep the surface for the ocean integration by creating clean edges to extrude.
FX Flip Surface, Part 3
In this lesson we’ll extrude out the edges to fit the ocean and see how to make sure the extrusions don’t break.
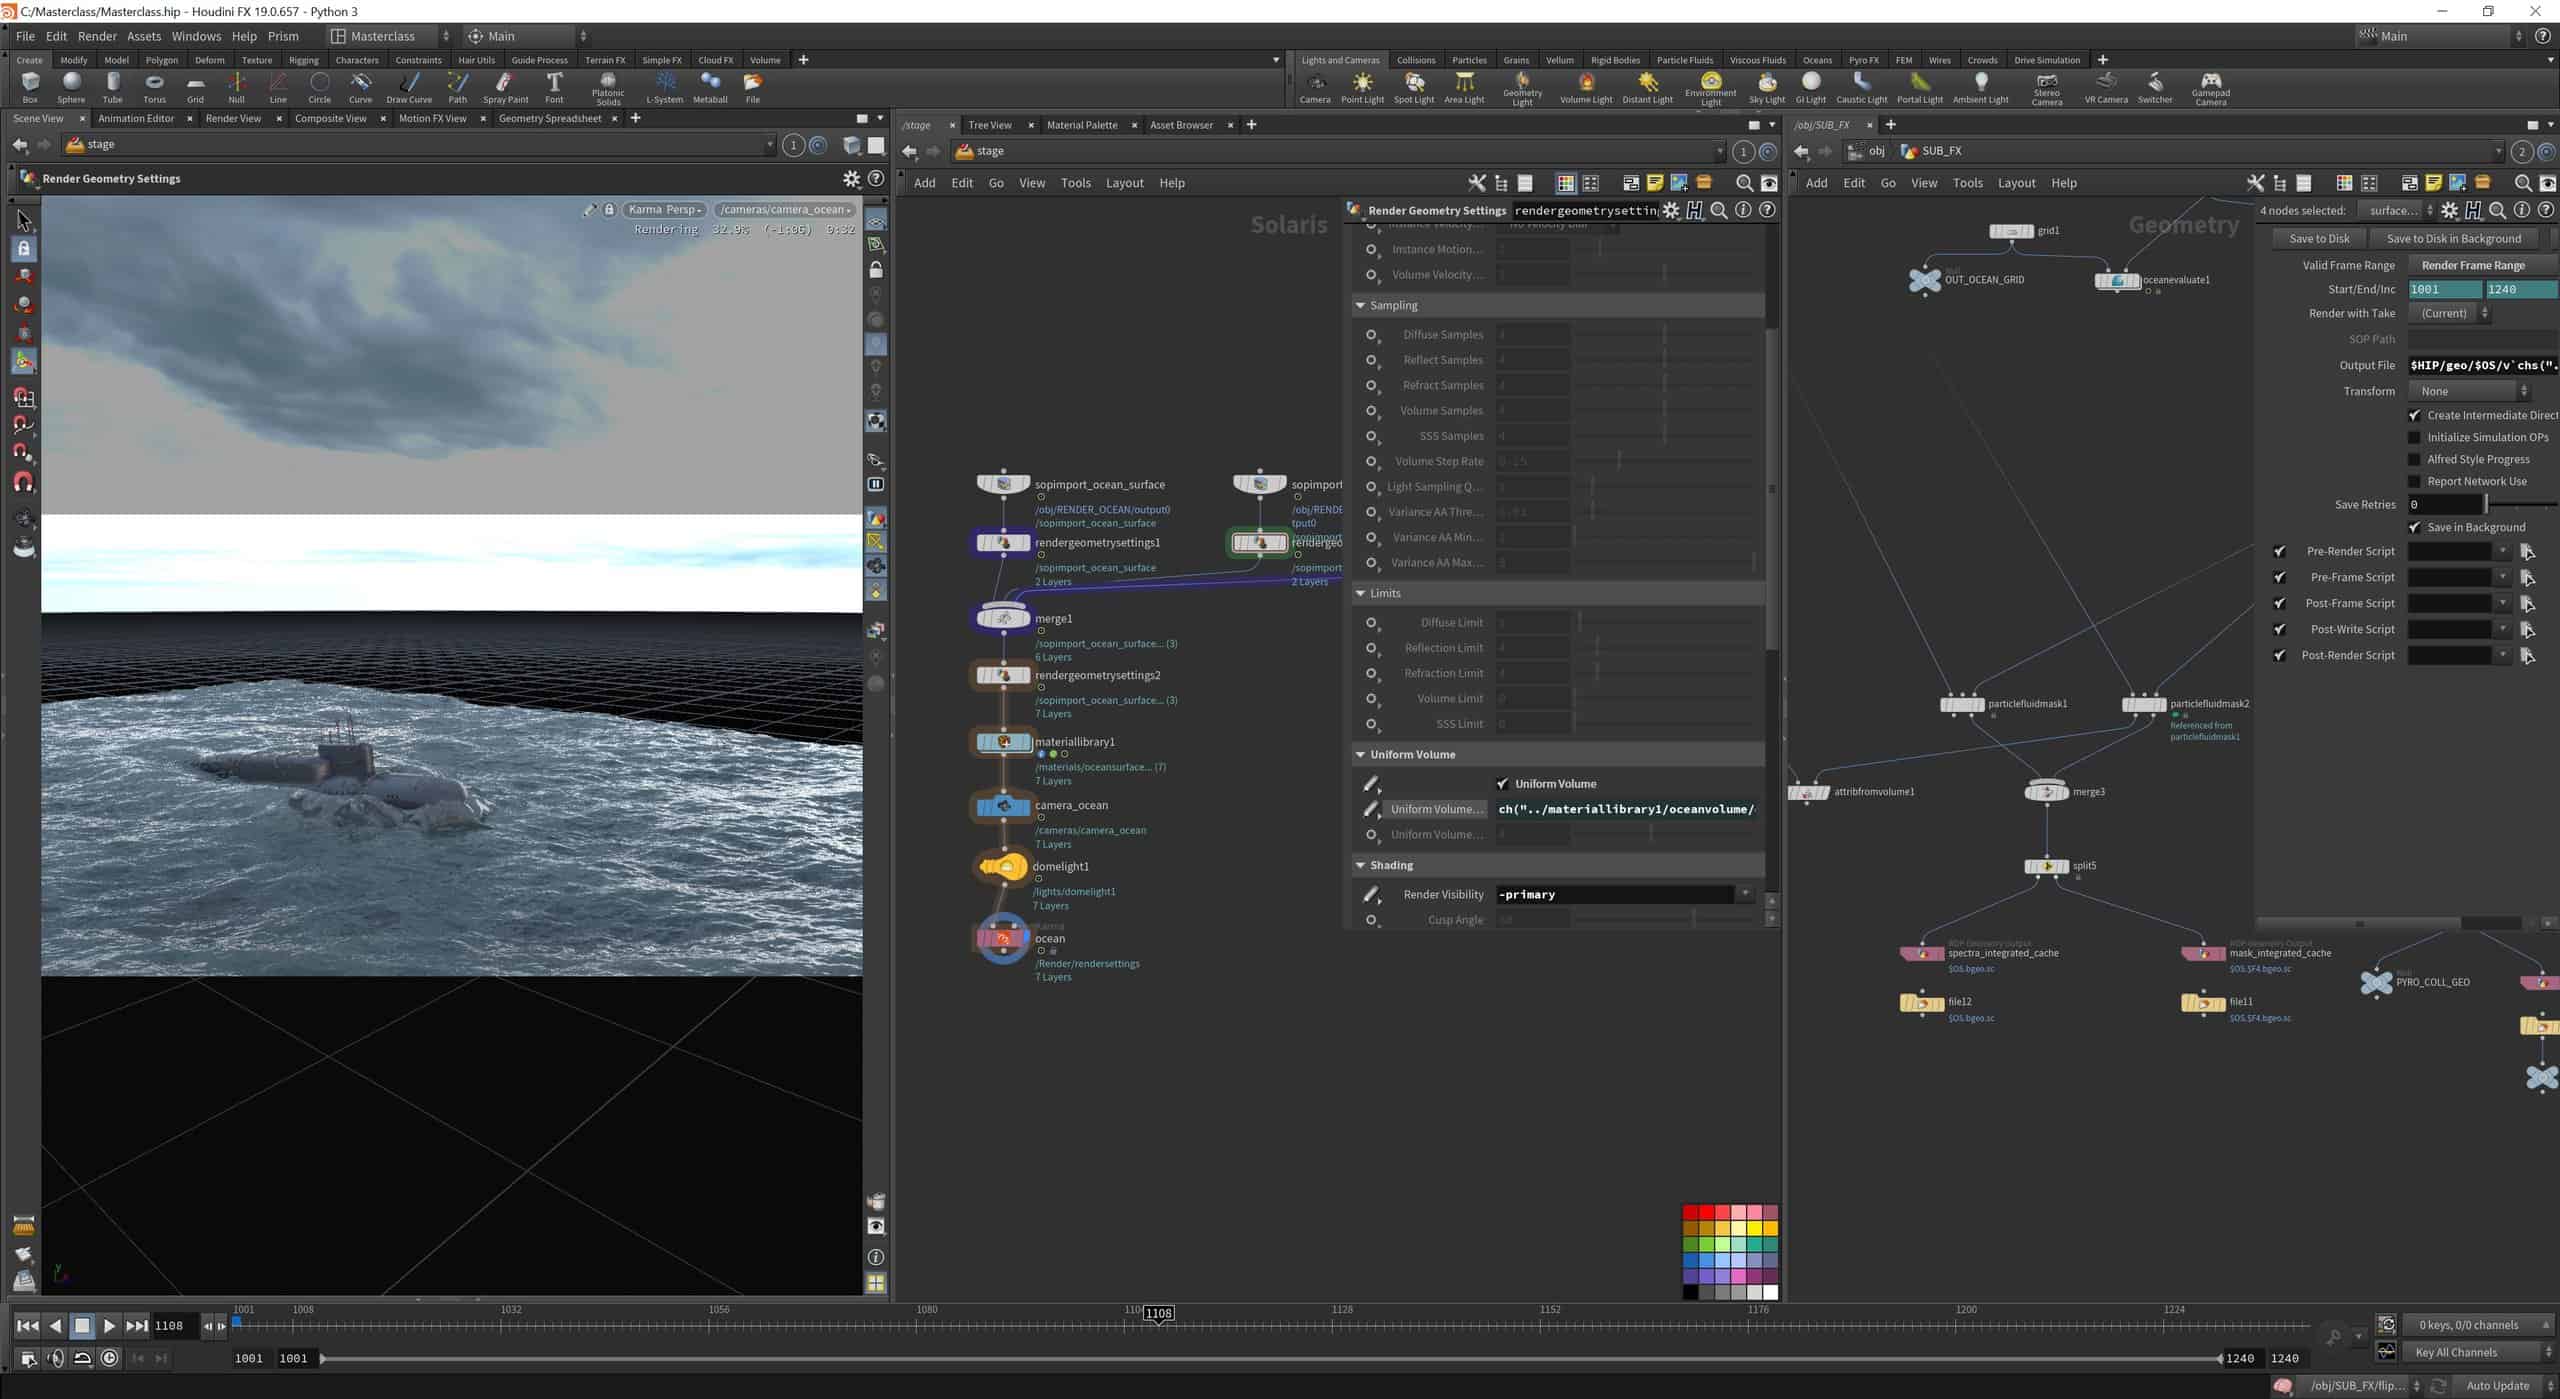
FX Ocean Integration, Part 1
In this lesson we’ll create a base mask to get a seamlessly transition between flip and ocean displacement.
FX Ocean Integration, Part 2
In this lesson we’ll create a secondary mask to bring back some detail from the ocean and see the integrated flip surface rendered.
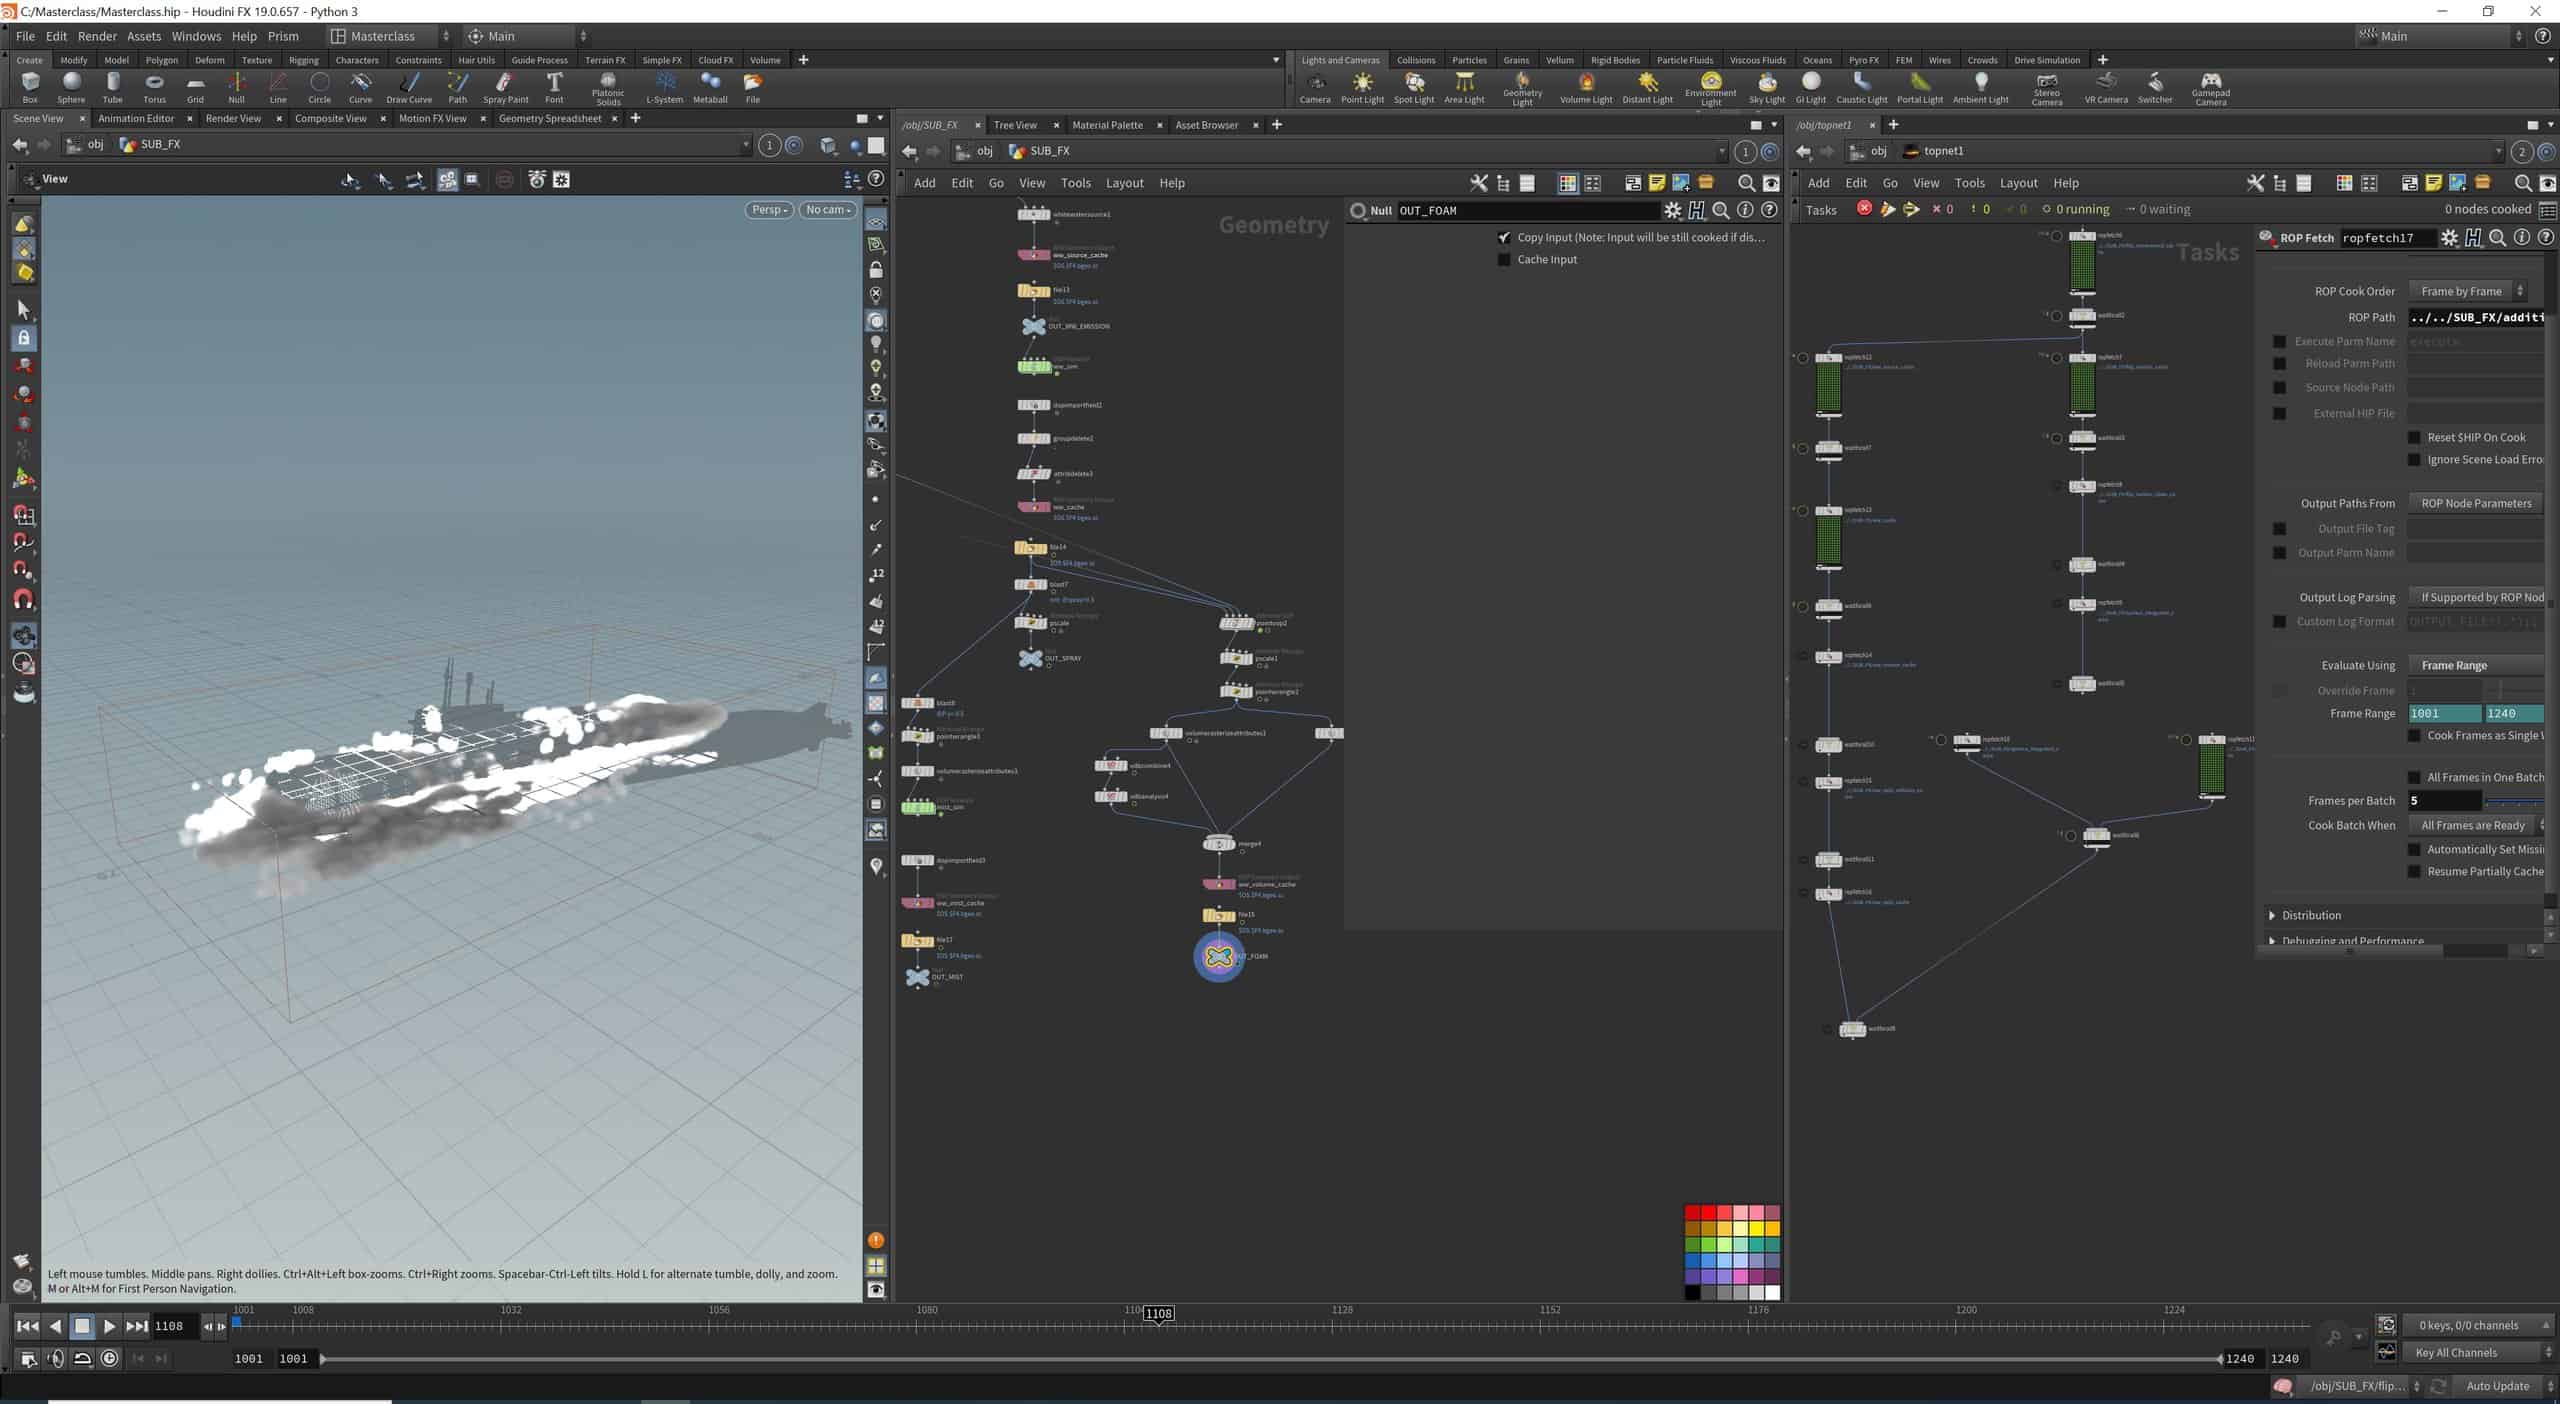
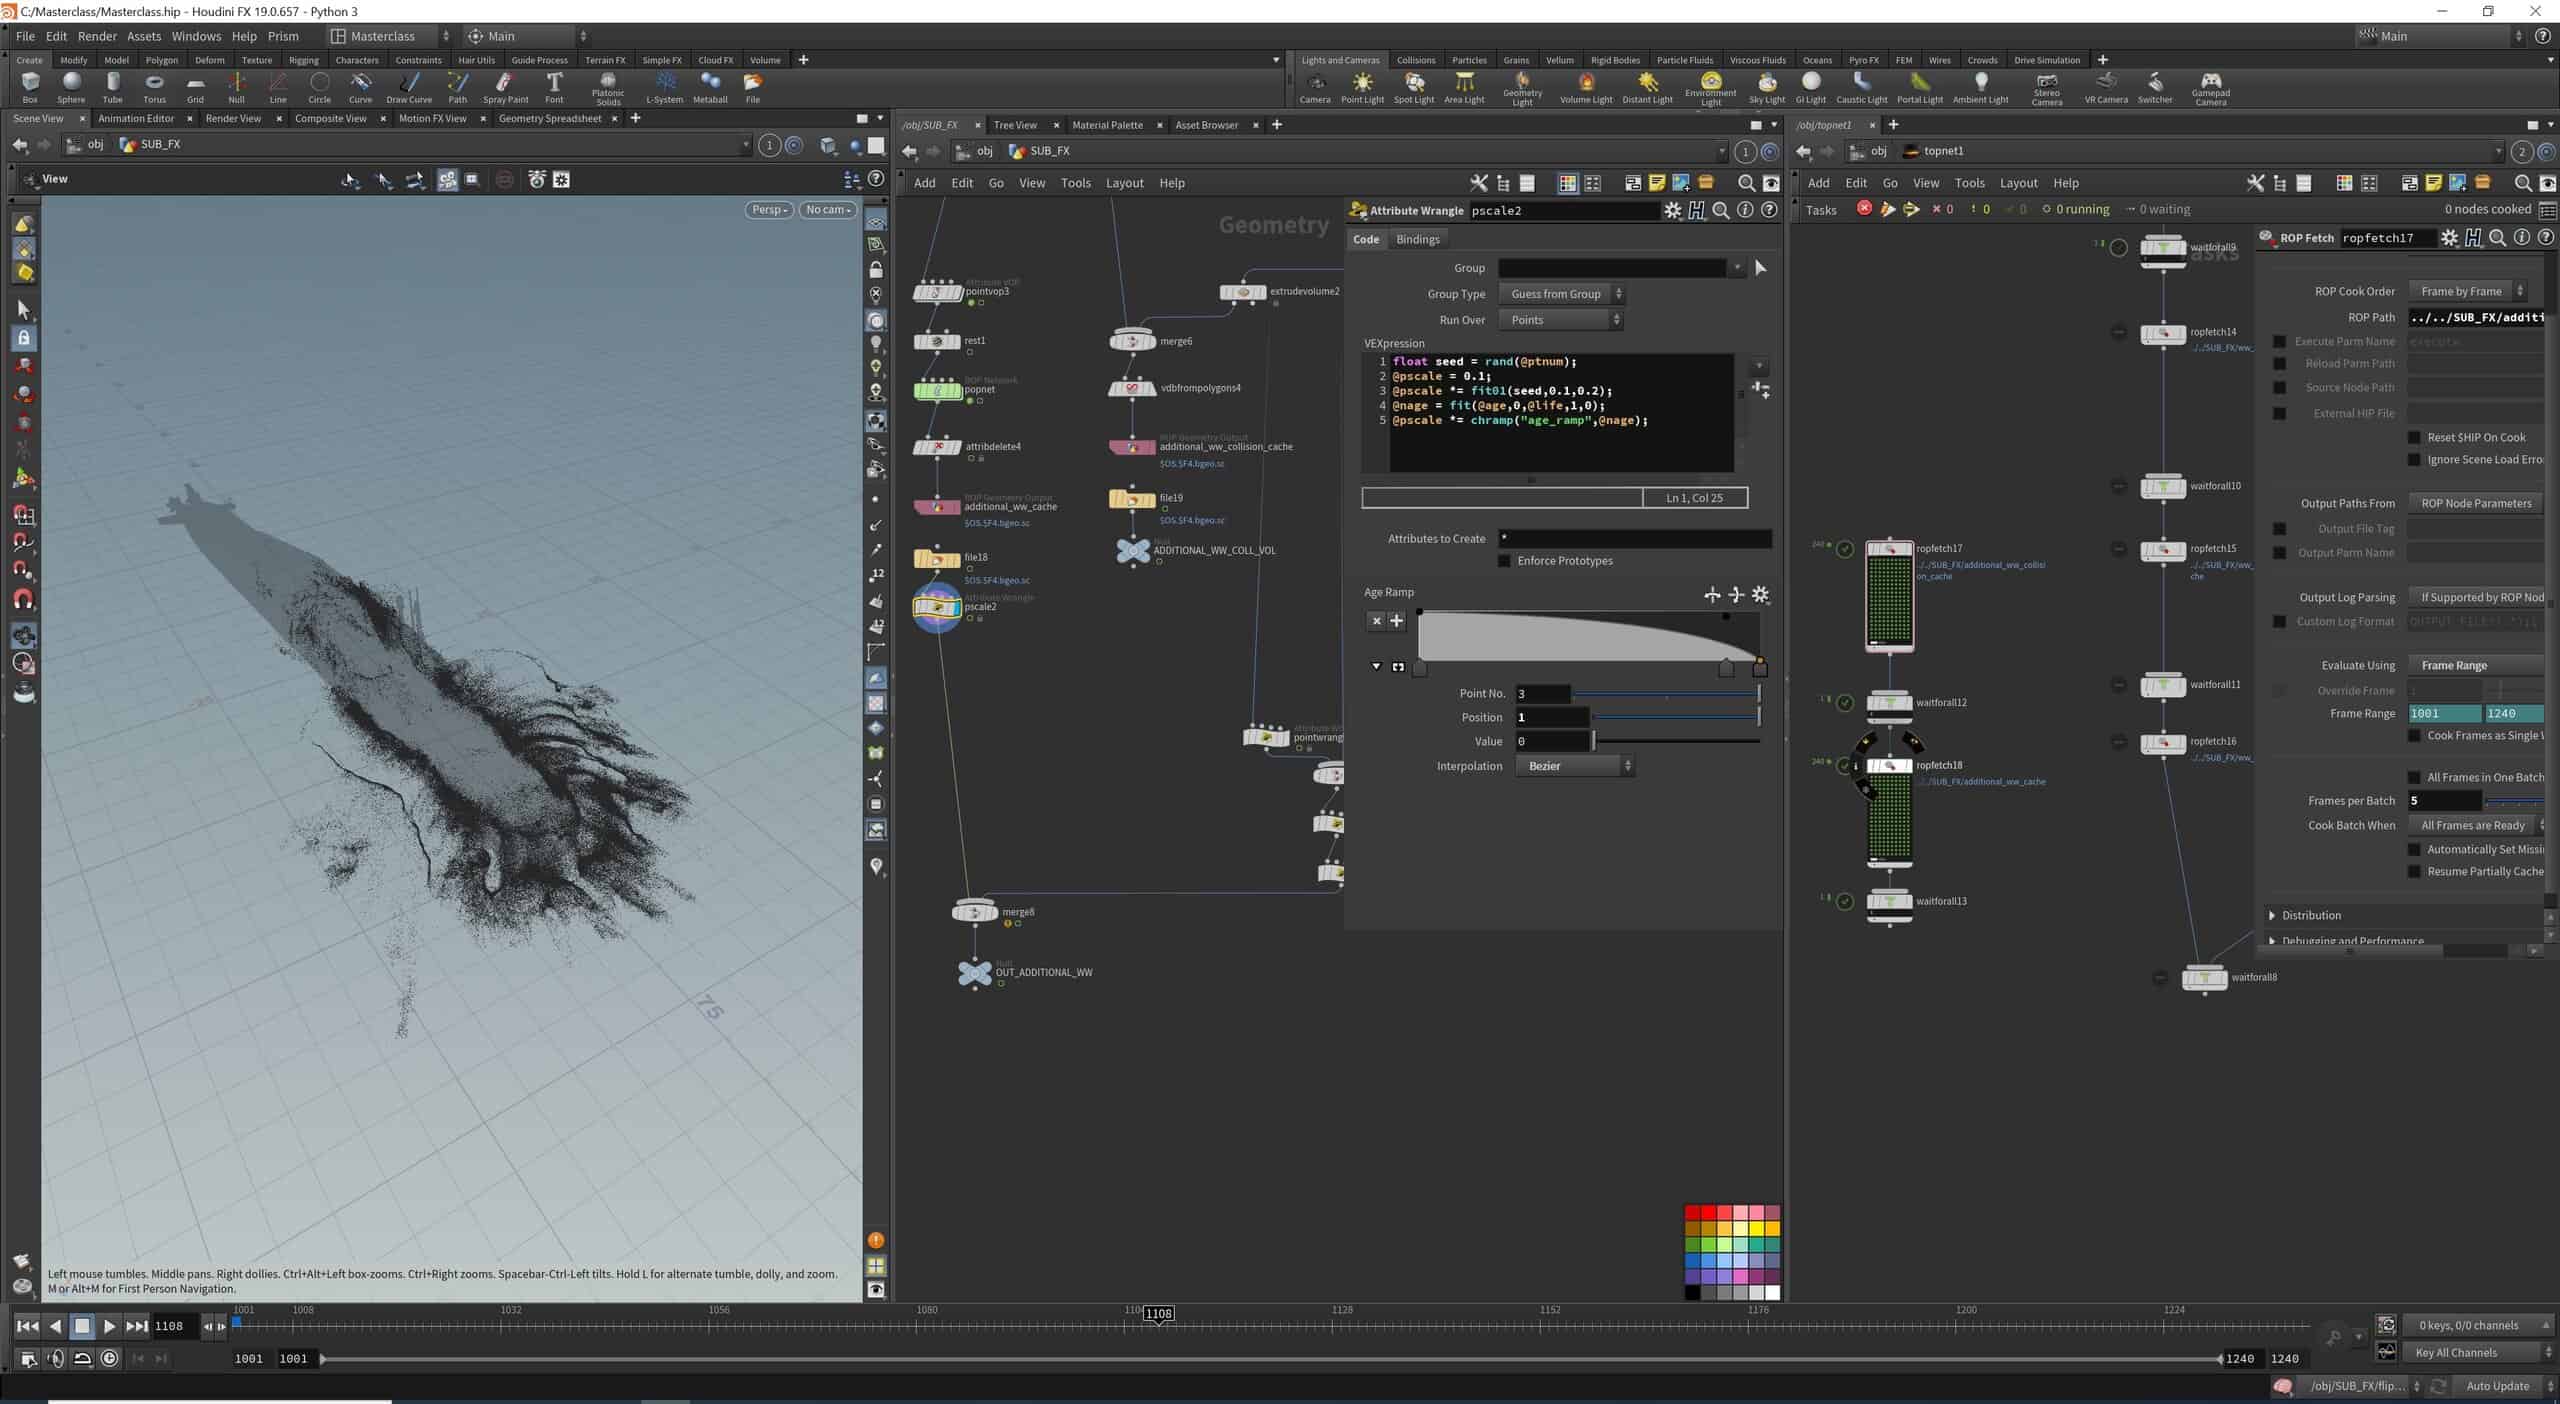
FX Whitewater Simulation, Part 1
In this lesson we’ll create the base whitewater simulation setup.
FX Whitewater Simulation, Part 2
In this lesson we’ll distinguish between spray particles and foam, then prepare them for rendering.
FX Whitewater Simulation, Part 3
In this lesson we’ll import into our render tree the results from our whitewater simulation, then we’ll shade and render them.
FX Whitewater Mist, Part 1
In this lesson we’ll create a quick smoke simulation to mimic the thinnest layer of whitewater.
FX Whitewater Mist, Part 2
In this lesson we’ll import the mist into the render setup, then we’ll render it.
FX Additional Whitewater, Part 1
In this lesson we’ll create a simple particle simulation to add one more layer of whitewater to the effect.
FX Additional Whitewater, Part 2
In this lesson we’ll take all remaining elements to render and import them into the render setup.
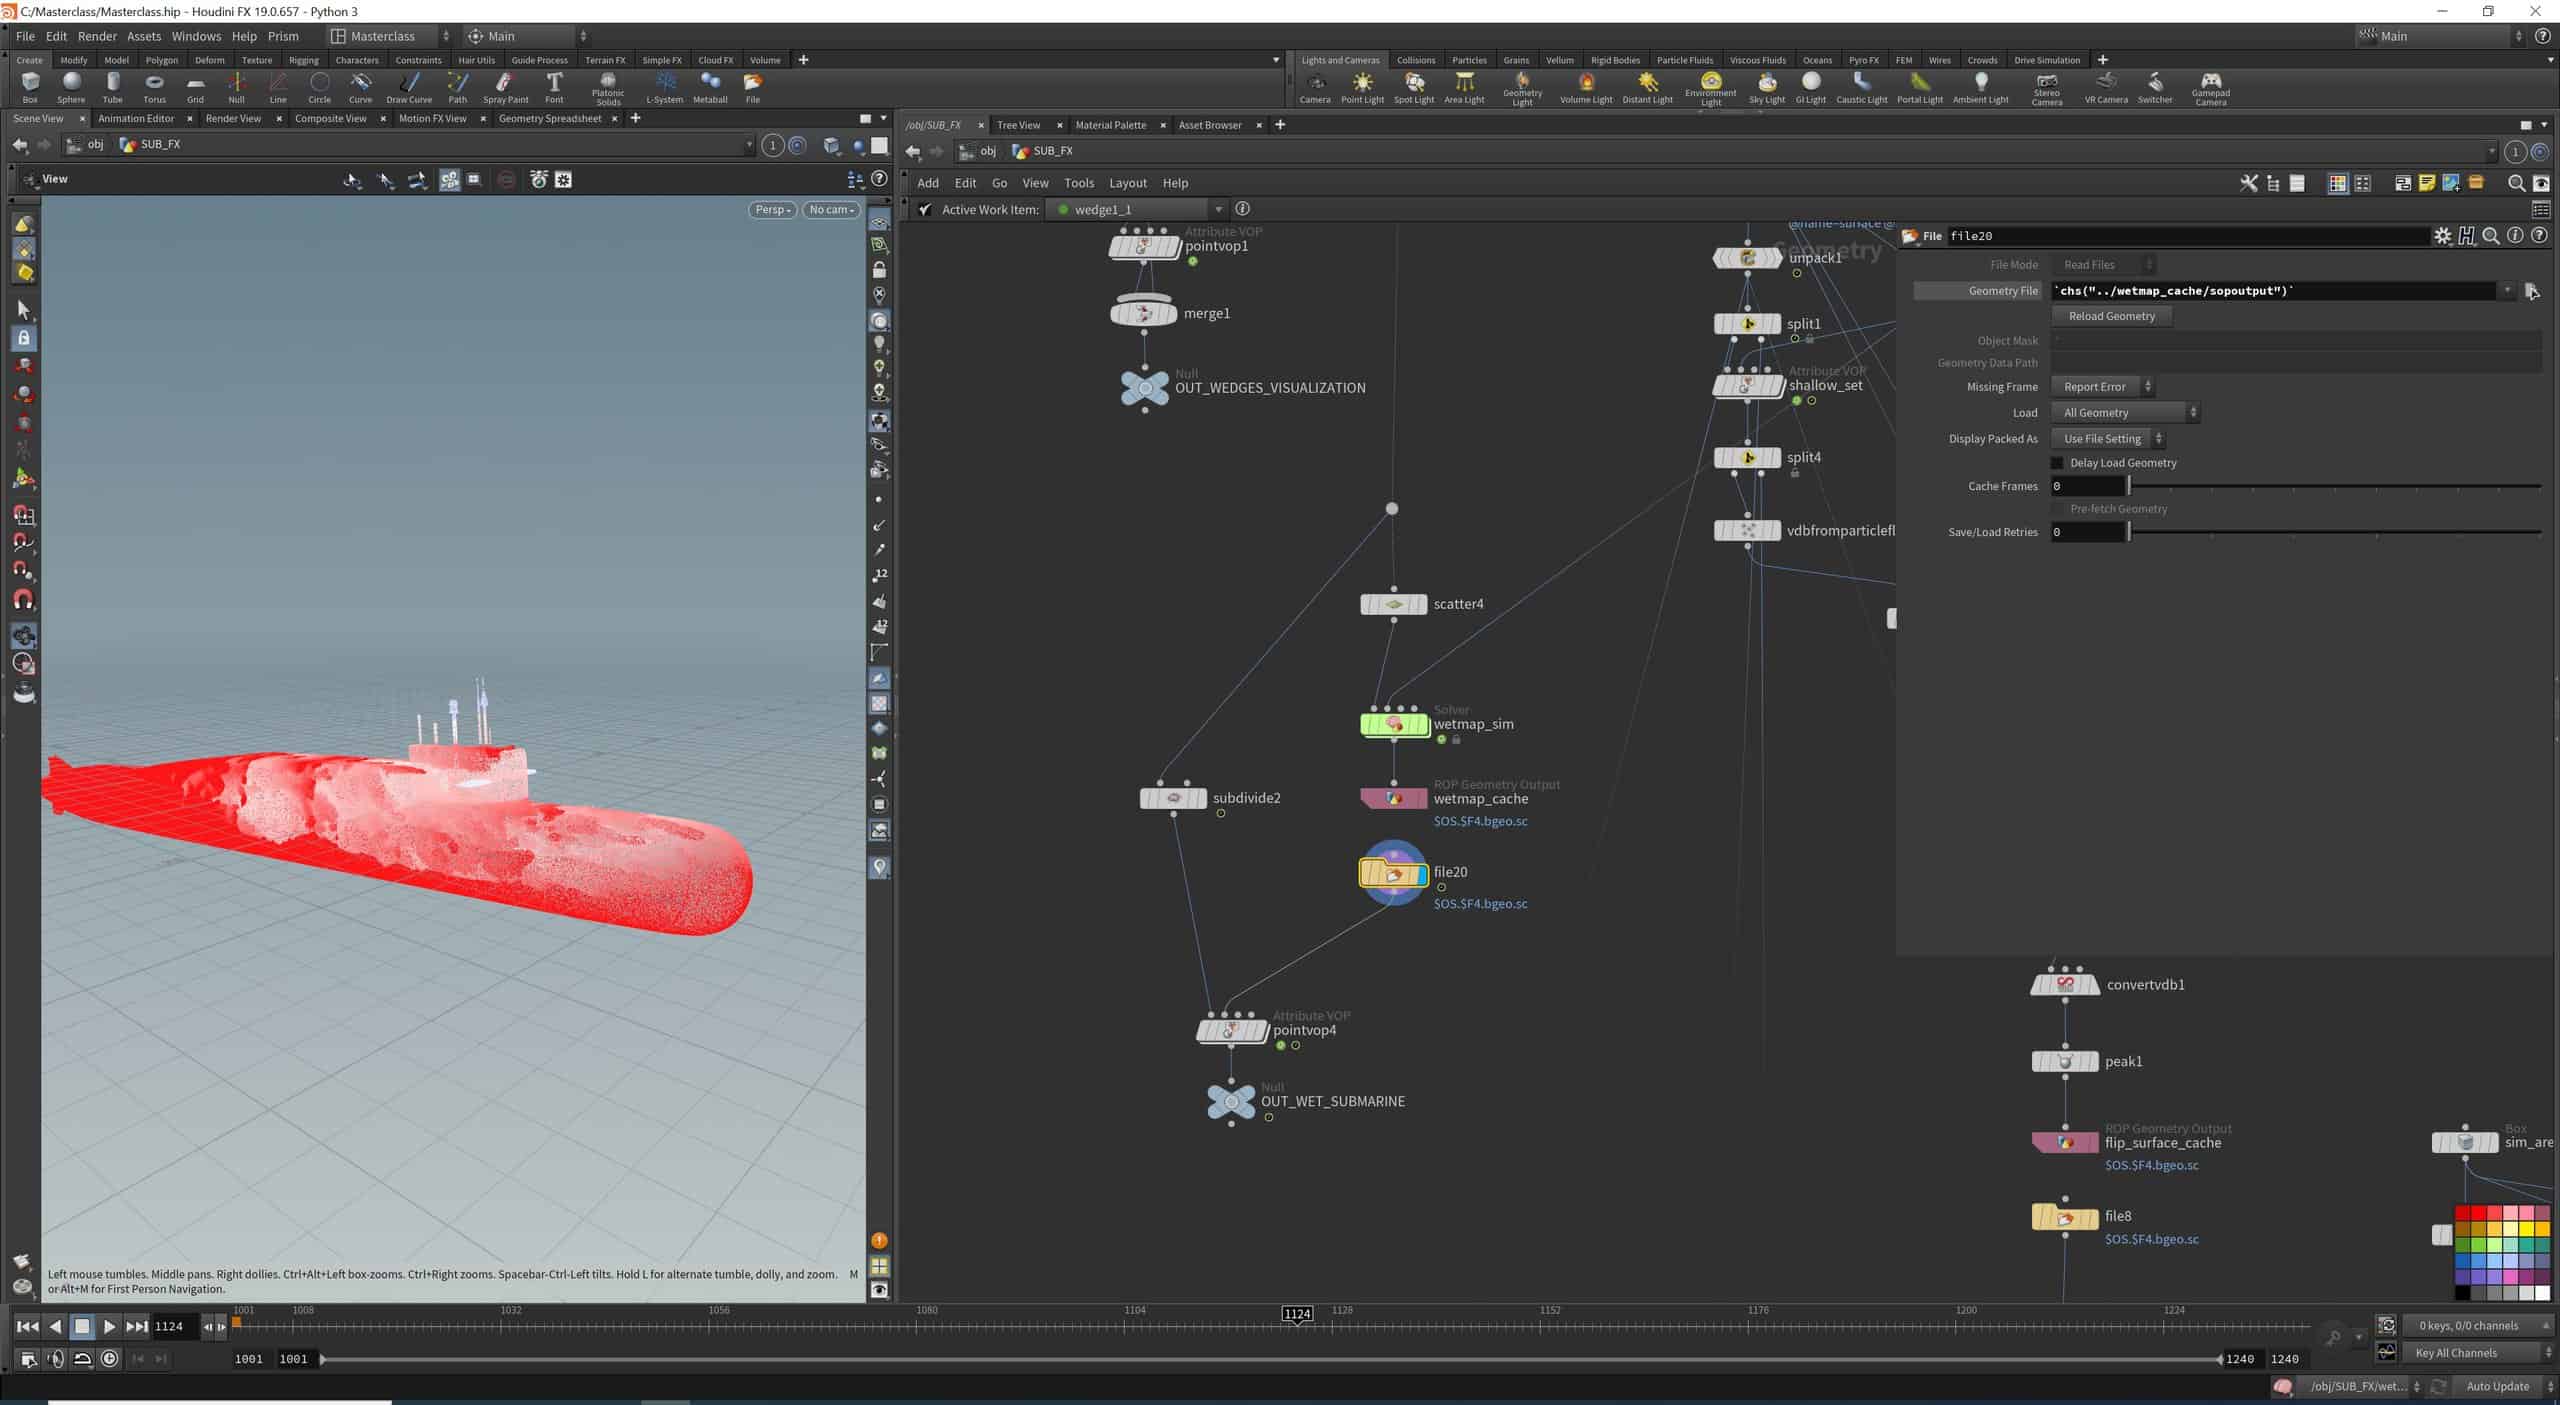
FX Wetmap, Part 1
In this lesson we’ll see how to create a wetmap simulation.
FX Wetmap, Part 2
In this lesson we’ll use the wetmap to modify the submarine shader.
FX Foaminess, Part 1
In this lesson we’ll create another shading attibute to fake the presence of bubbles on and below our flip surface.
FX Foaminess, Part 2
In this lesson we’ll modify the ocean shader with the foaminess attribute.
FX Flip Customization, Part 1
In this lesson we’ll start to modify the flip simulation behaviours by adding various types of drag.
FX Flip Customization, Part 2
In this lesson we’ll continue to modify the flip simulation behaviours by adding back some ocean influence and a surface drag.
FX Flip Customization, Part 3
In this lesson we’ll finish modifying the flip simulation behaviours by adding noise to the collision vel and by having the closest particles to the submarine being dragged along.
FX Flip Customization, Part 4
In this lesson we’ll add the exhausts ports to the simulation and we’ll get ready for the final simulation.
FX Flip Customization, Part 5
In this lesson we’ll take a look at checkpoints and fix up our TOP network tree to be able to start and restart the final simulation in a single click.
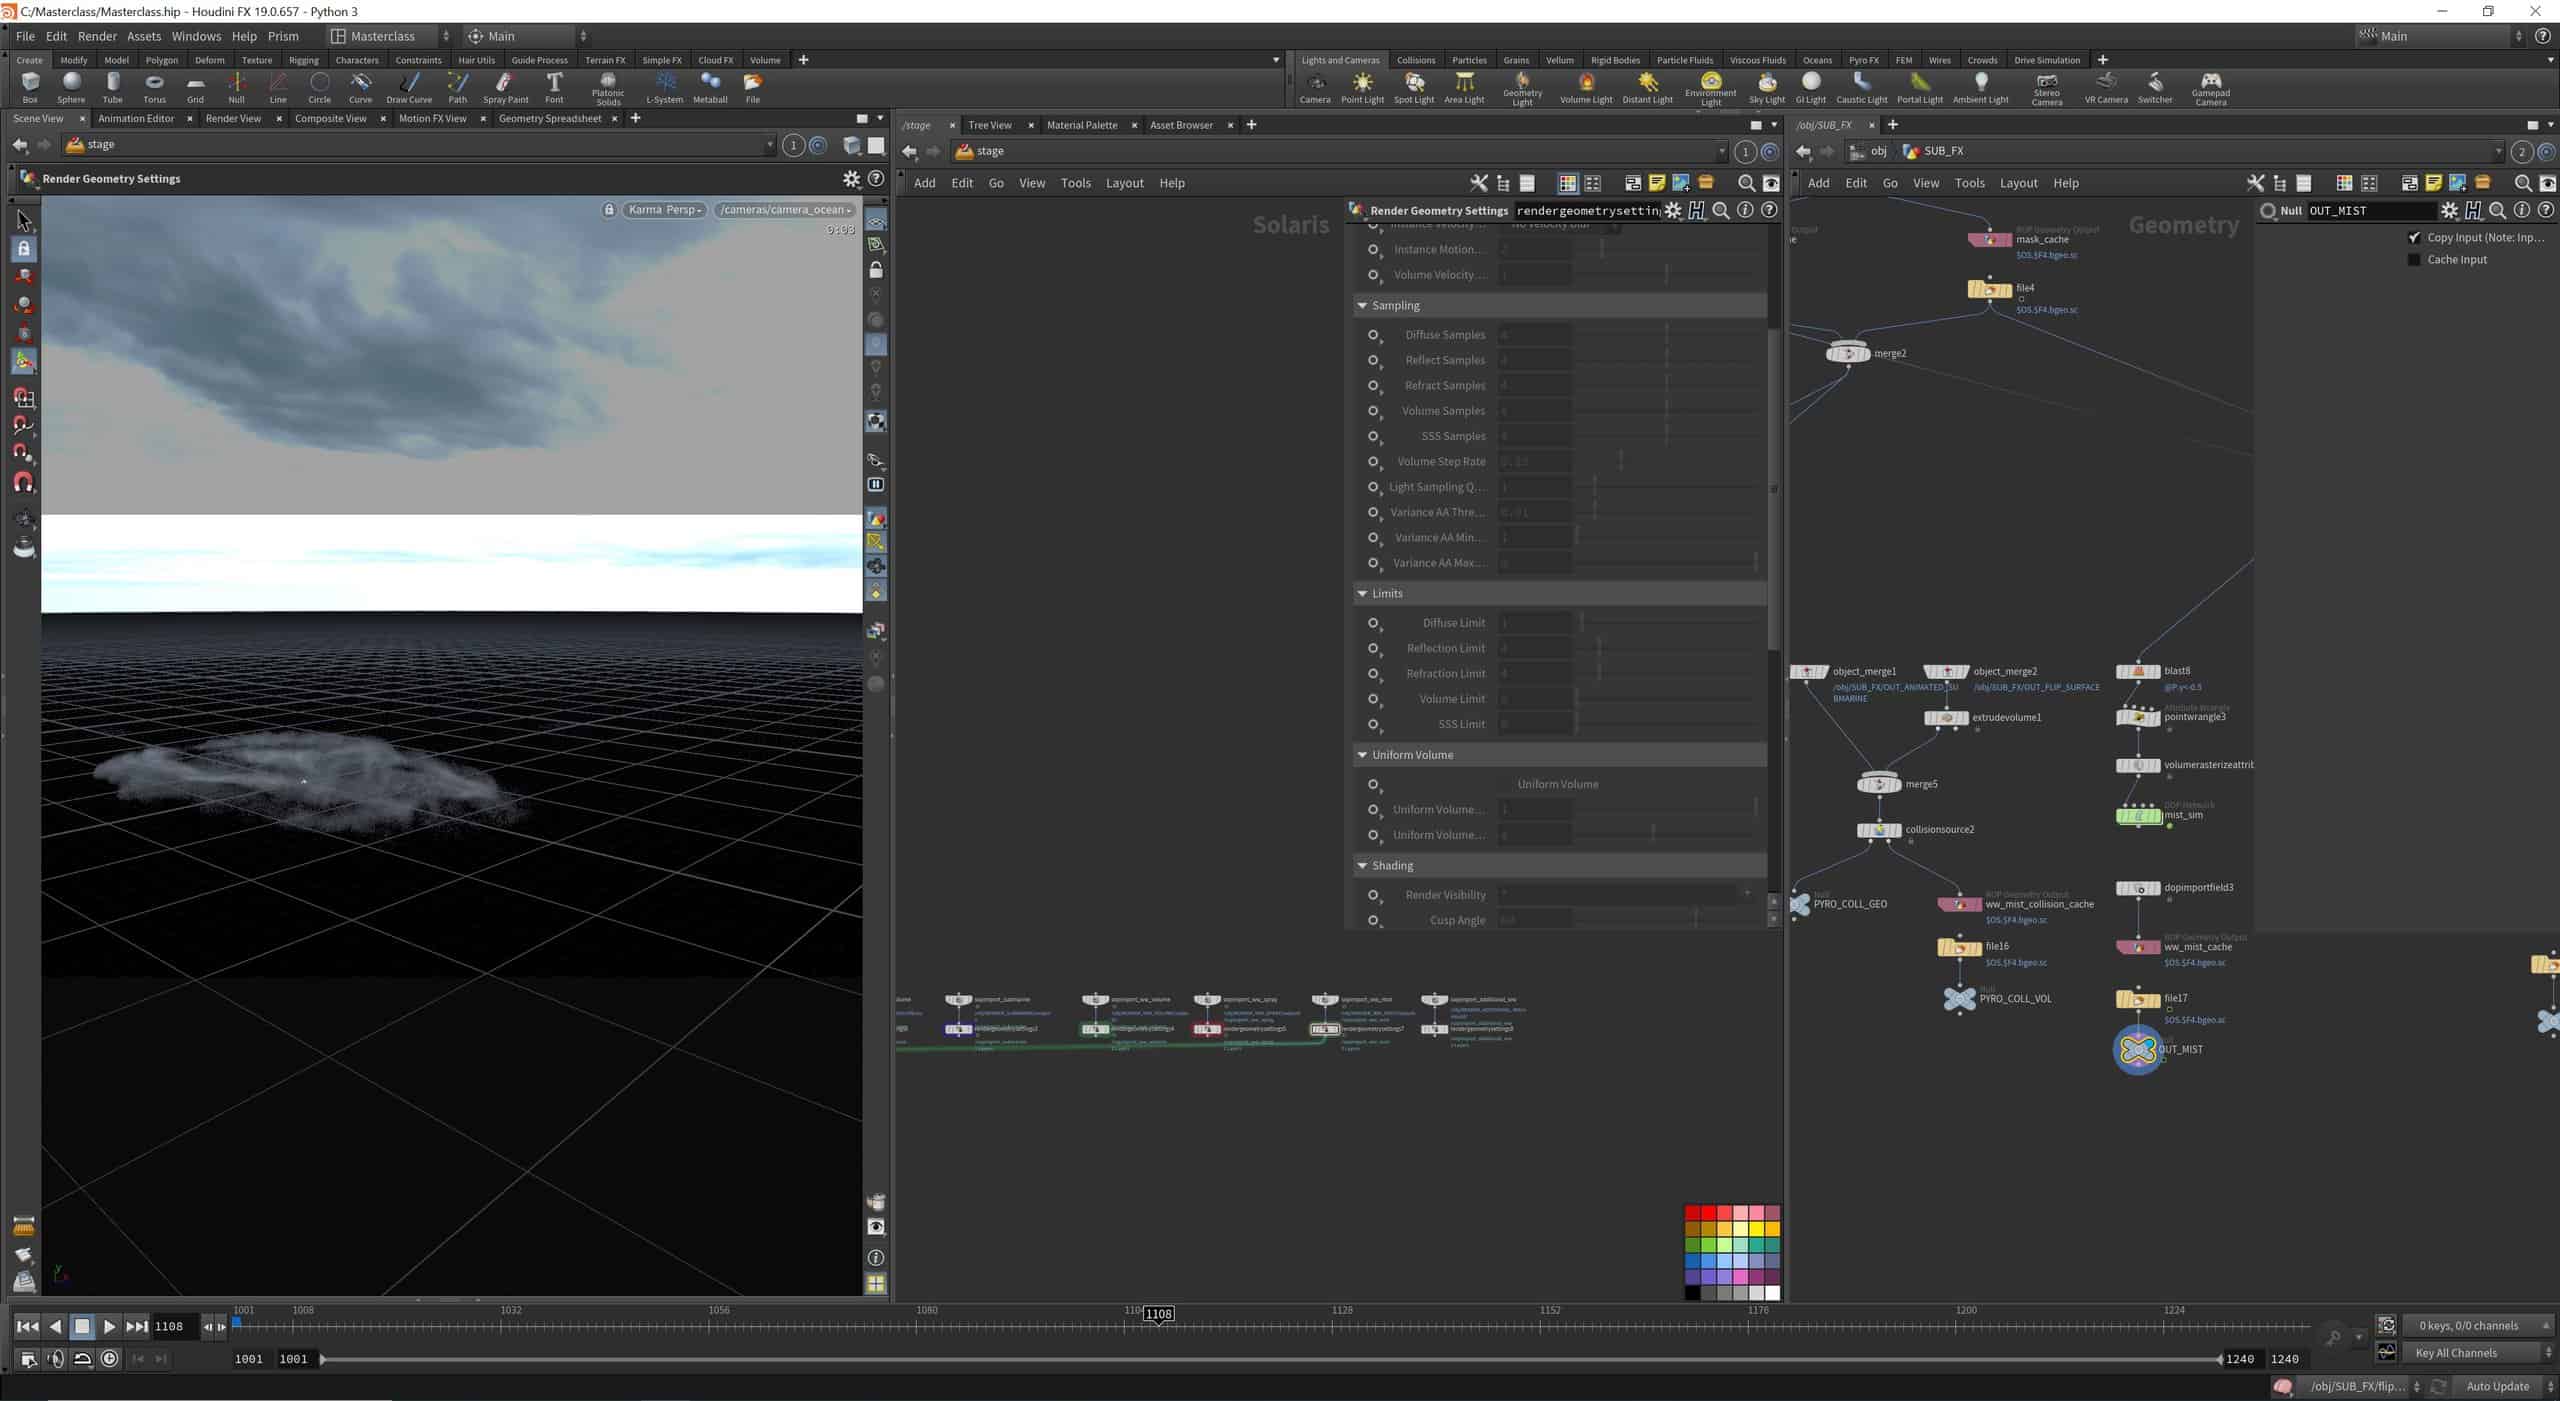
RENDER Passes Setup
In this lesson we’ll see how to subdivide our scene into different passes, how to render geometries as matte, phantom or invisible.
COMP Rebuilding the Shot, Part 1
In this lesson we’ll rebuild the shot in Nuke, merging all render passes and the sky.
COMP Grain, Defocus and Haze, Part 2
In this lesson we’ll add some effects to improve the look of the shot. We’ll add depth of field, grain and haze.
COMP Horizon and Passes CC, Part 3
in this lesson we’ll fix the horizon and color correct our passes to better fit the lighting.
COMP Final Tips, Part 4
In this lesson we’ll see some other methods to improve our compositing and we’ll finally wrap the shot.